Blog
How to Import Your Digital Planner into Noteshelf (Step-by-Step Guide)
Table of Contents
Whether you’ve just purchased a gorgeous Digital planner or created your own, Noteshelf makes it easy to bring it in, tap through tabs, and start writing right away. In this tutorial, we’ll cover two ways to open your planner in Noteshelf, then show you how to use hyperlinks, handwriting tools, and the type tool to make it truly yours.
Import Your Digital Planner into Noteshelf in less than a Minute
Method 1: Open Directly from the Files App
- Locate your planner PDF
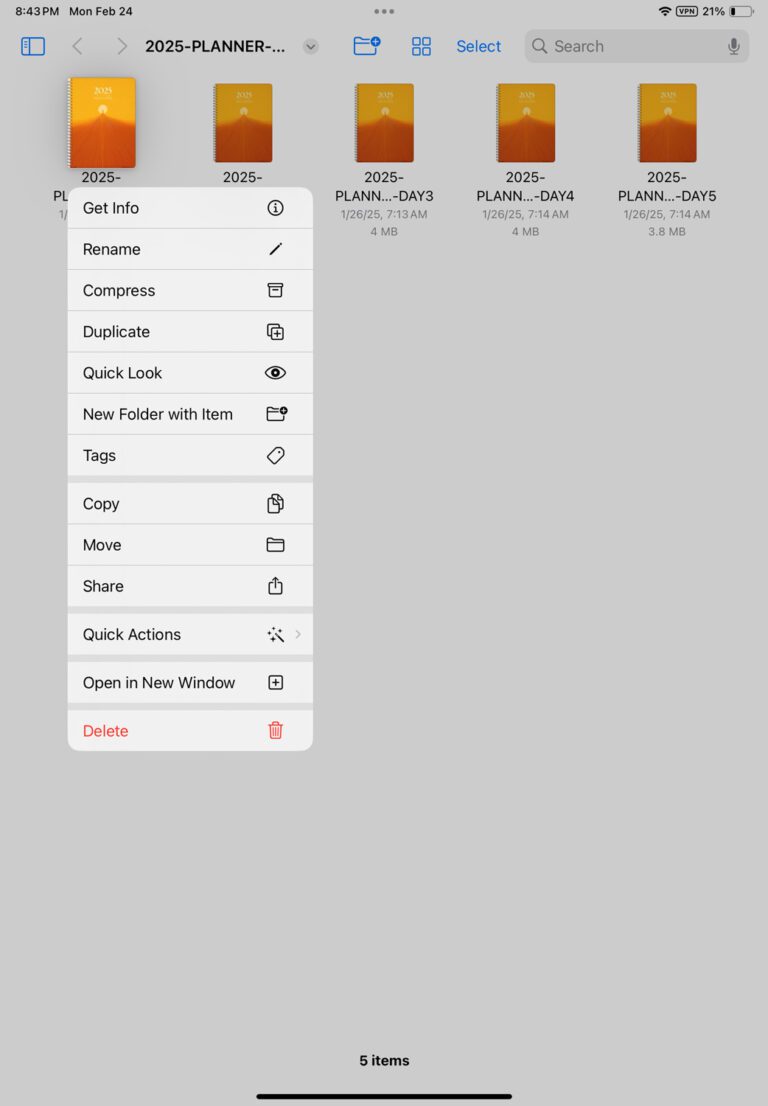
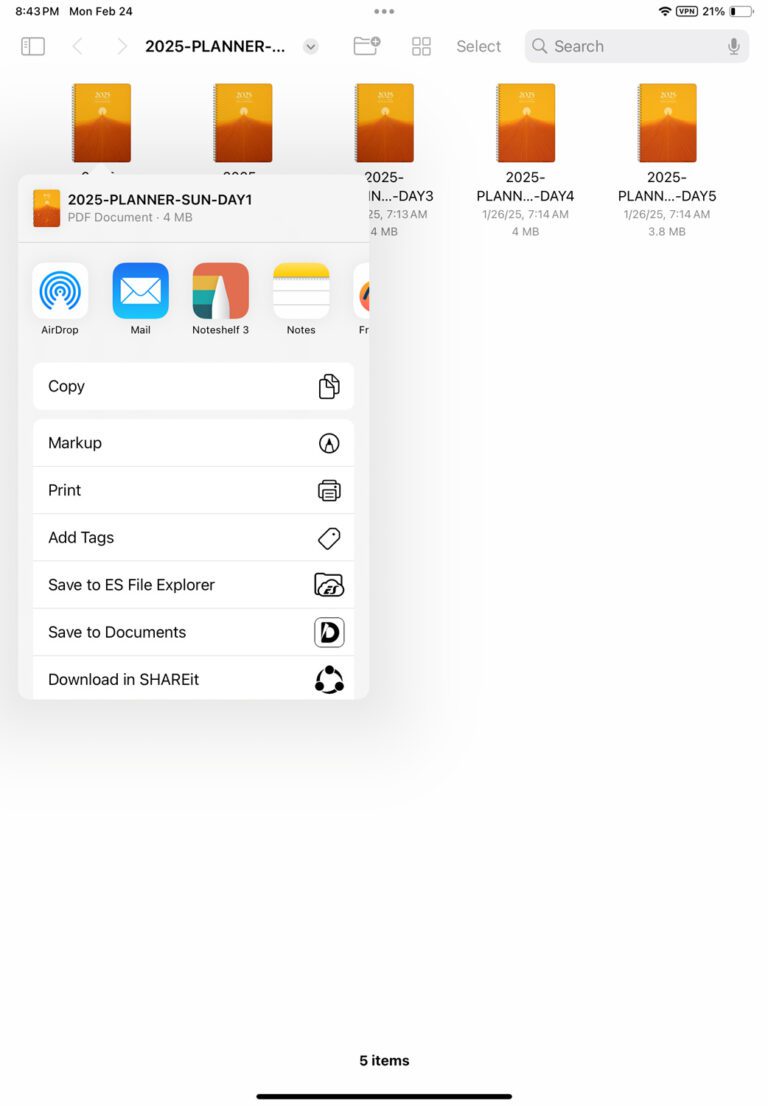
Open Apple’s Files app and navigate to the folder where your PDF planner lives (iCloud Drive, On My iPad, Dropbox, etc.). - Tap Share → Noteshelf
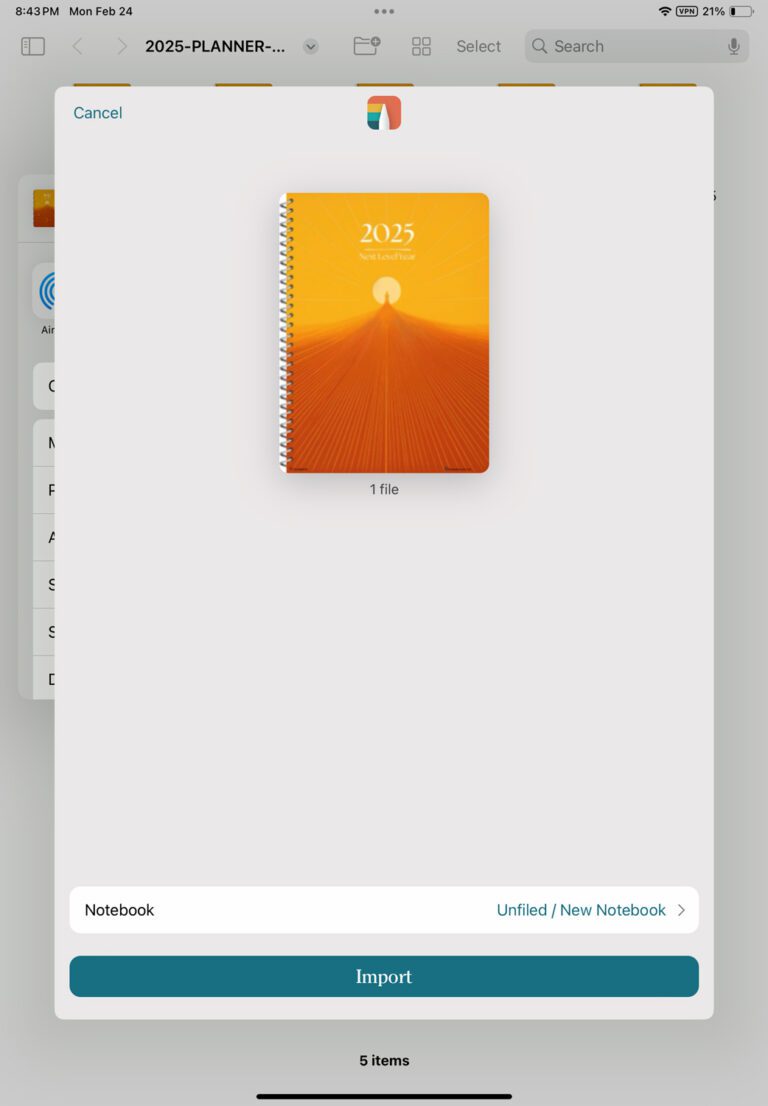
With the PDF selected, tap the Share button (the square with an arrow), then choose Noteshelf from the share sheet. - Tap Import
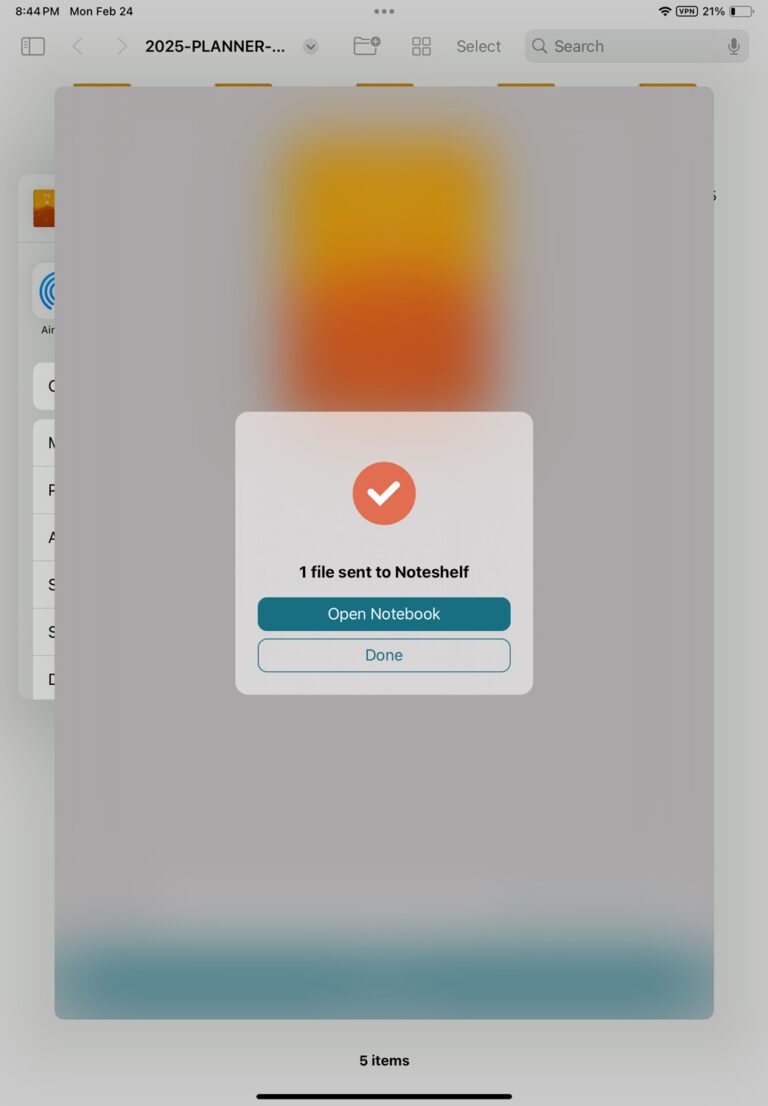
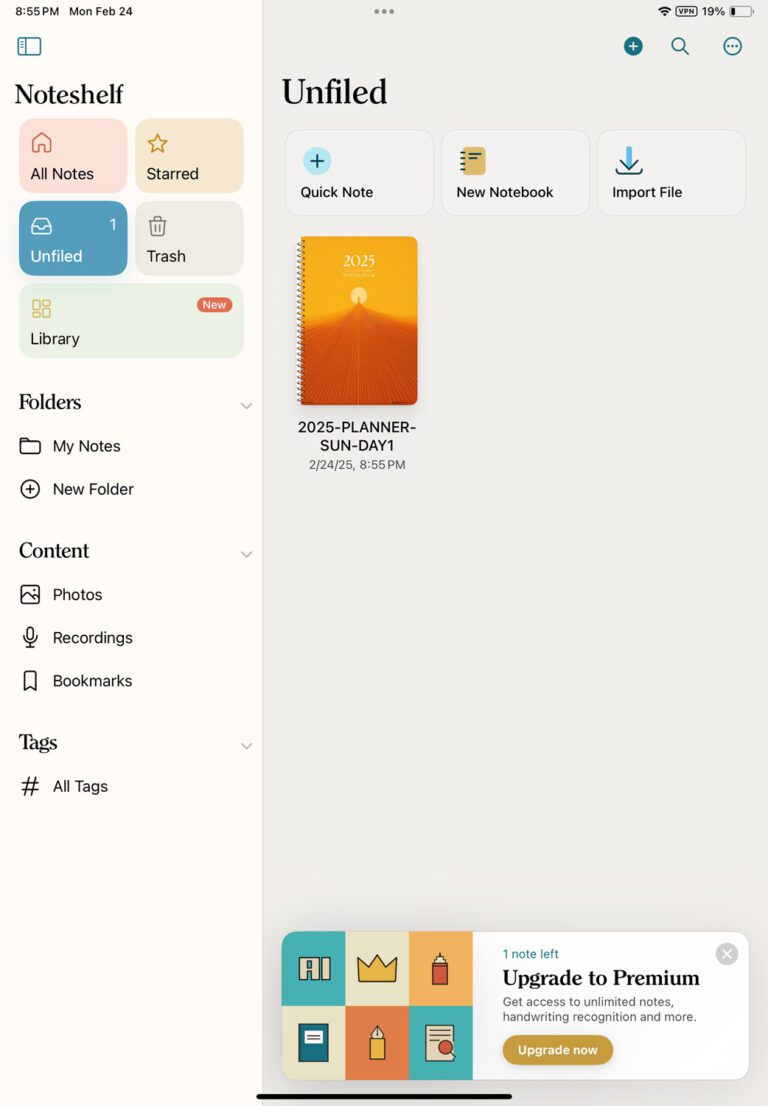
Noteshelf will bring in your PDF as a new notebook. When it’s done, tap Open Notebook to jump right into your planner.
Method 2: Import from Within Noteshelf
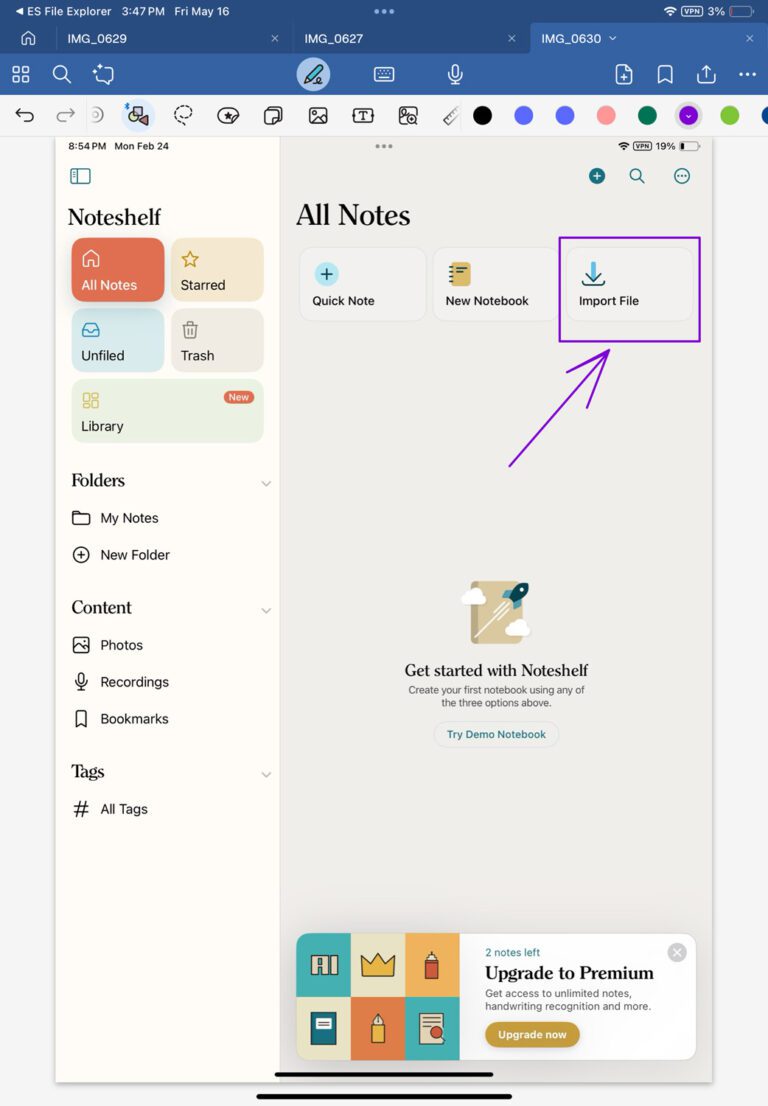
Open Noteshelf and tap “Import File”
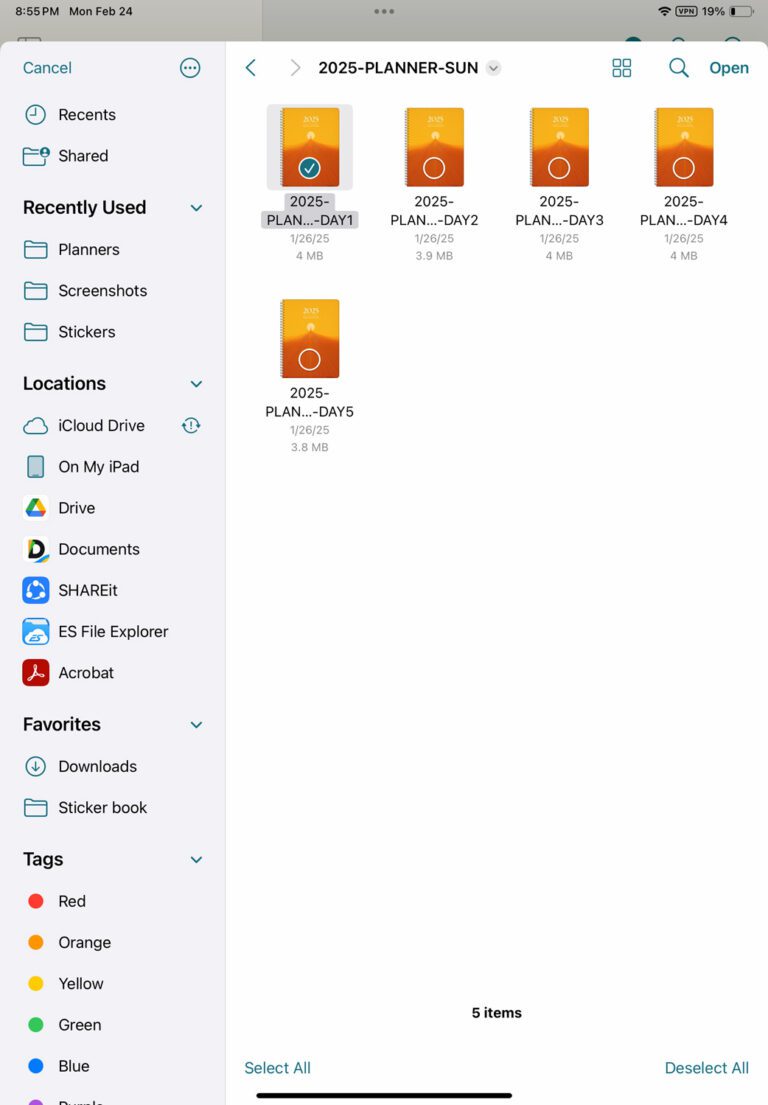
From the Noteshelf home screen (All Notes), tap the Import File button.Navigate to your PDF
Use the file picker to browse iCloud Drive, On My iPad, or another location where your planner is stored. Tap the planner PDF to select it.Complete the import
Once you’ve chosen your notebook, tap Import. Noteshelf will open your planner in its own notebook.
Navigating Your Planner with Hyperlinks
Most digital planners including ours, have built-in tabs or clickable links for months, weekly spreads, or special sections. To use these:
Switch to Read-Only Mode
Tap the book icon in the toolbar to lock your pen and activate hyperlinks.Tap any link or tab
Now you can tap month tabs or linked areas to jump instantly to that section.
Annotating and Adding Text
Once your planner is open, Noteshelf’s tools let you personalize every page:
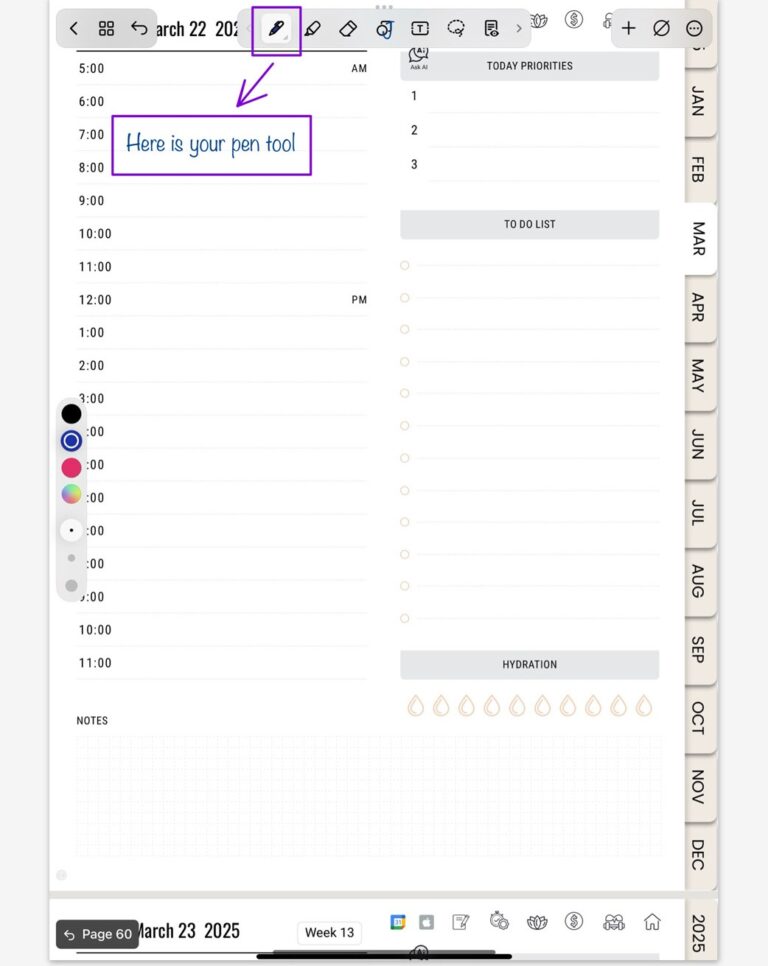
Handwrite with the Pen Tool
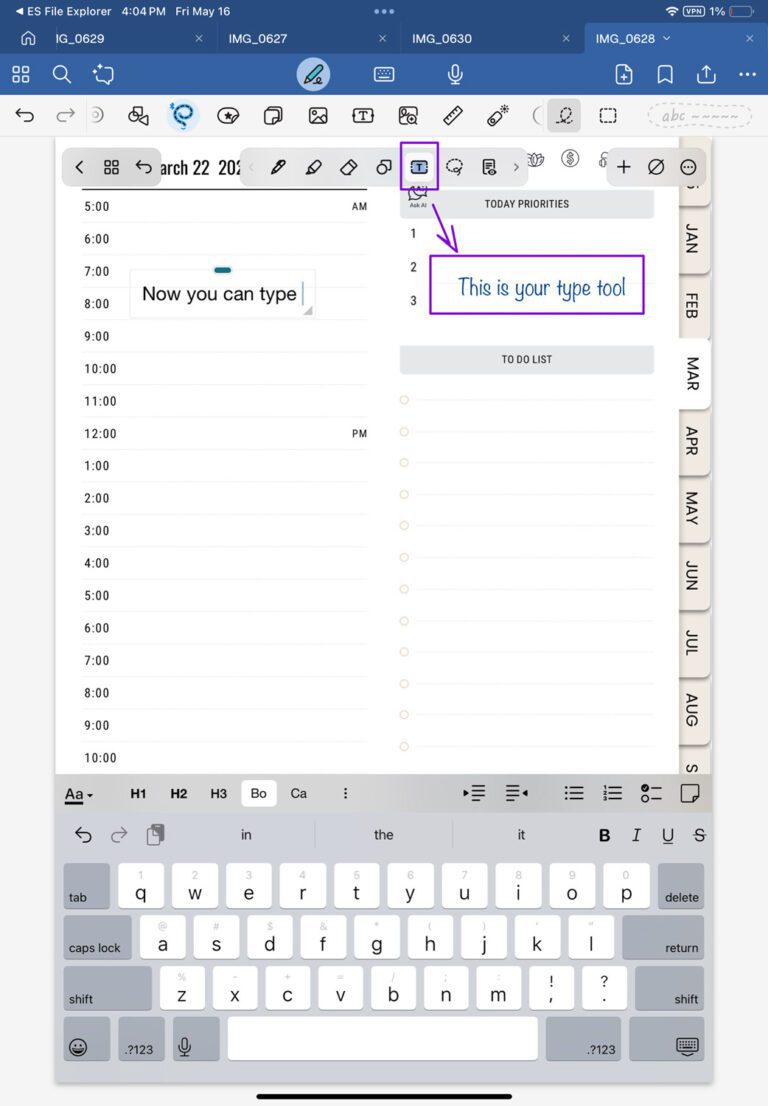
Tap the Pen icon, then choose your ink color and thickness. Perfect for jotting down appointments or doodling.Type with the Text Tool
Tap the T icon to enter text mode. Tap anywhere on the page, then use the iPad keyboard to type neatly within a text box.Highlight Important Items
Switch to the Highlighter icon to emphasize key dates, to-dos, or motivational quotes.
Tips for a Seamless Experience
Back up automatically: In Noteshelf settings, enable cloud backup (iCloud or Dropbox) so you never lose your pages.
Bookmark key pages: Long-press a thumbnail in the page overview to bookmark it for one-tap access.
Search your handwriting: One of the useful features in Noteshelf is handwriting recognition. It allows you to search through your planner pages, but you’ll need to upgrade to Premium to unlock full access to this feature.
How to Change Your Planner Cover in Noteshelf
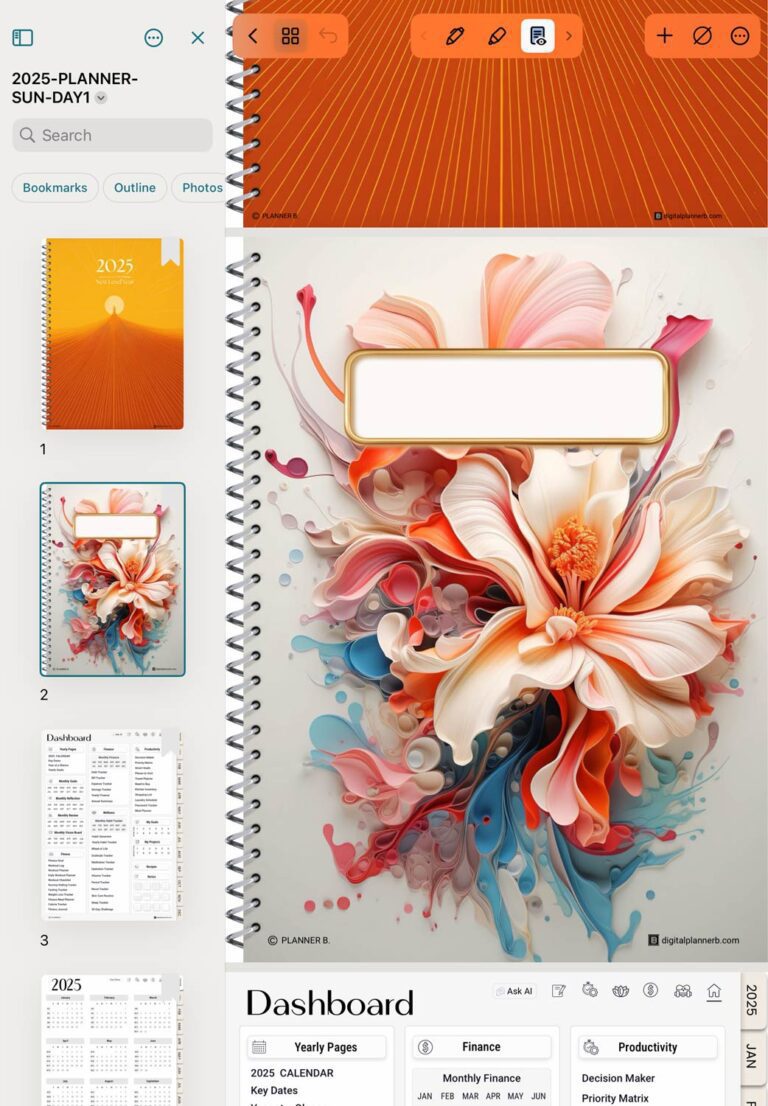
Our planners include a cover PDF containing images you can use as covers. If you’d like to swap in a custom cover or use one of these images, Noteshelf makes it easy. Here’s how to replace your planner’s default cover with any image or PDF page:
Open Your Cover PDF
In Noteshelf’s gallery, import and open the PDF (or notebook) that contains the cover image you want.
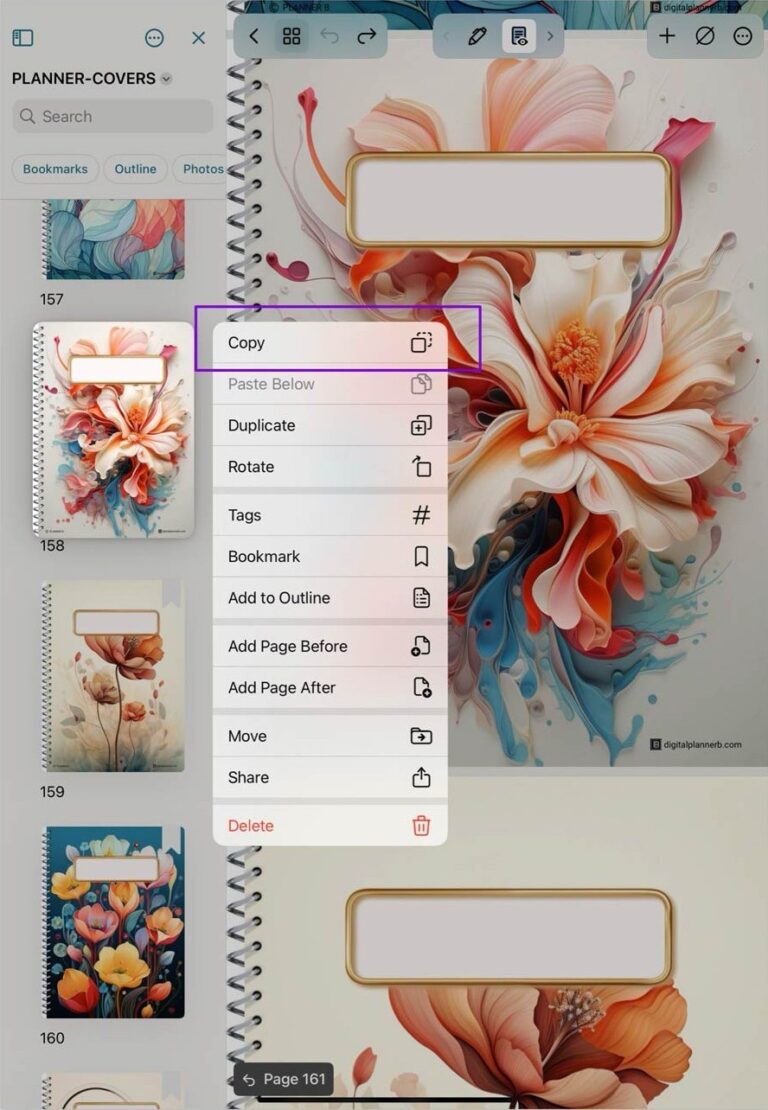
Copy the Cover Image
Tap the thumbnail icon to enter page-overview mode.
Find the page with your desired cover image, then tap and hold the thumbnail and choose Copy Image.
Go Back to Your Planner
Use the back arrow or gallery button to return to your planner notebook.
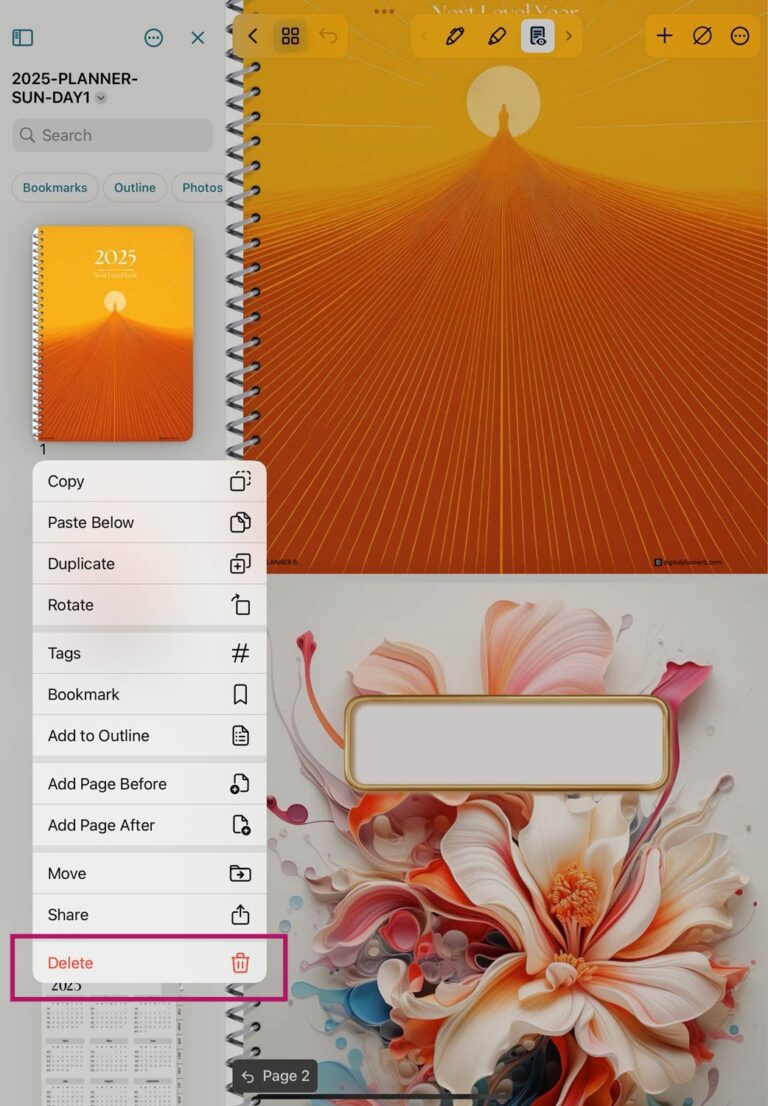
Navigate to the Current Cover Page
In your planner’s page-overview (tap the thumbnail icon), find the existing cover page.
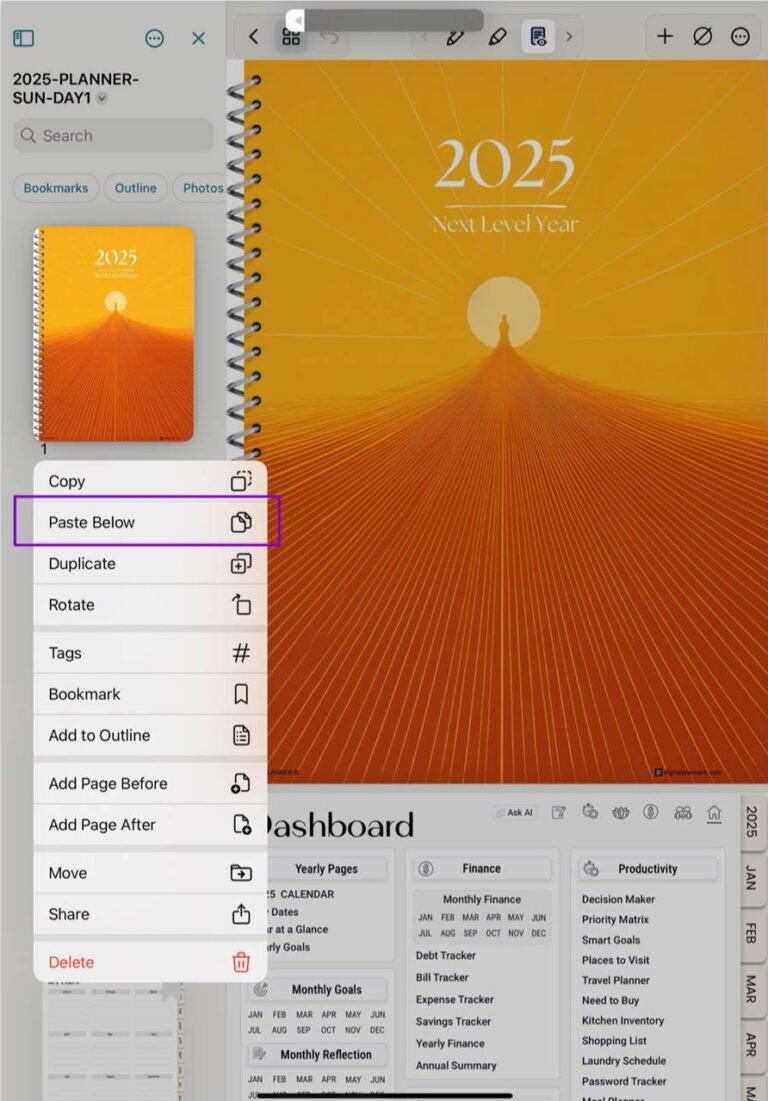
Paste the New Cover
Tap and hold the current cover thumbnail and select Paste Below.
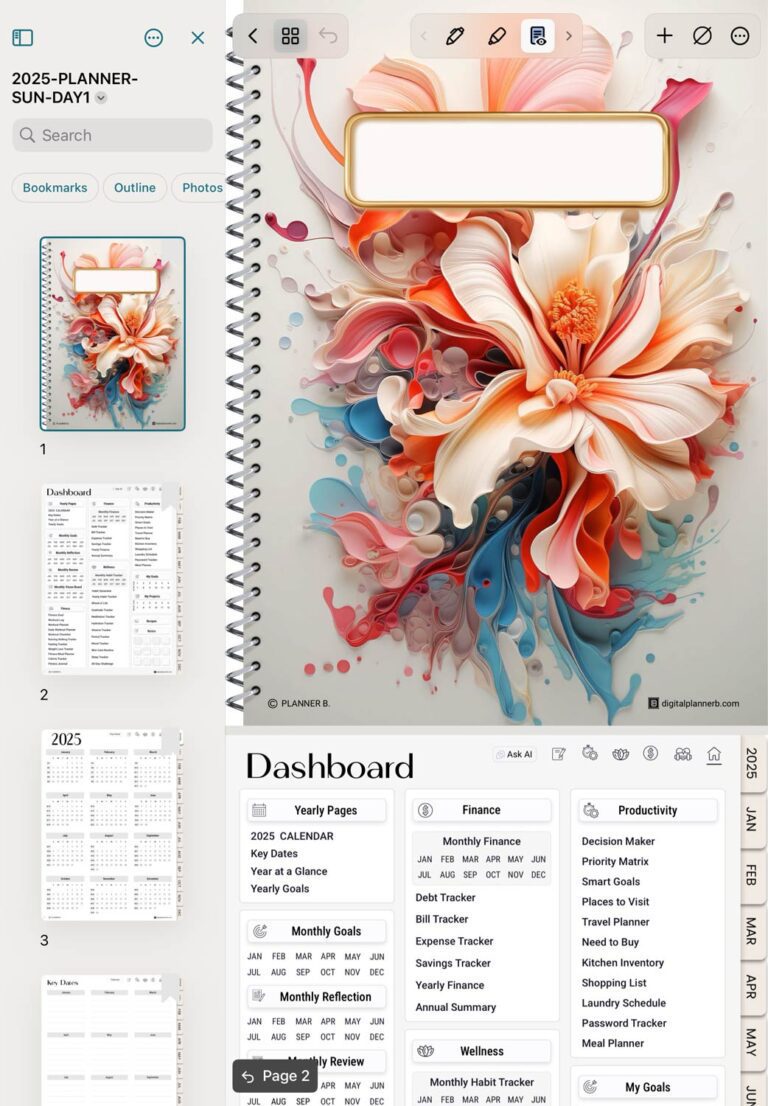
You’ll see the new cover image inserted immediately after the old one.
Remove the Old Cover
Tap and hold the old cover thumbnail and choose Delete Page
Now when you open your planner, your fresh cover will be the first page—perfectly replaced without affecting your existing entries.
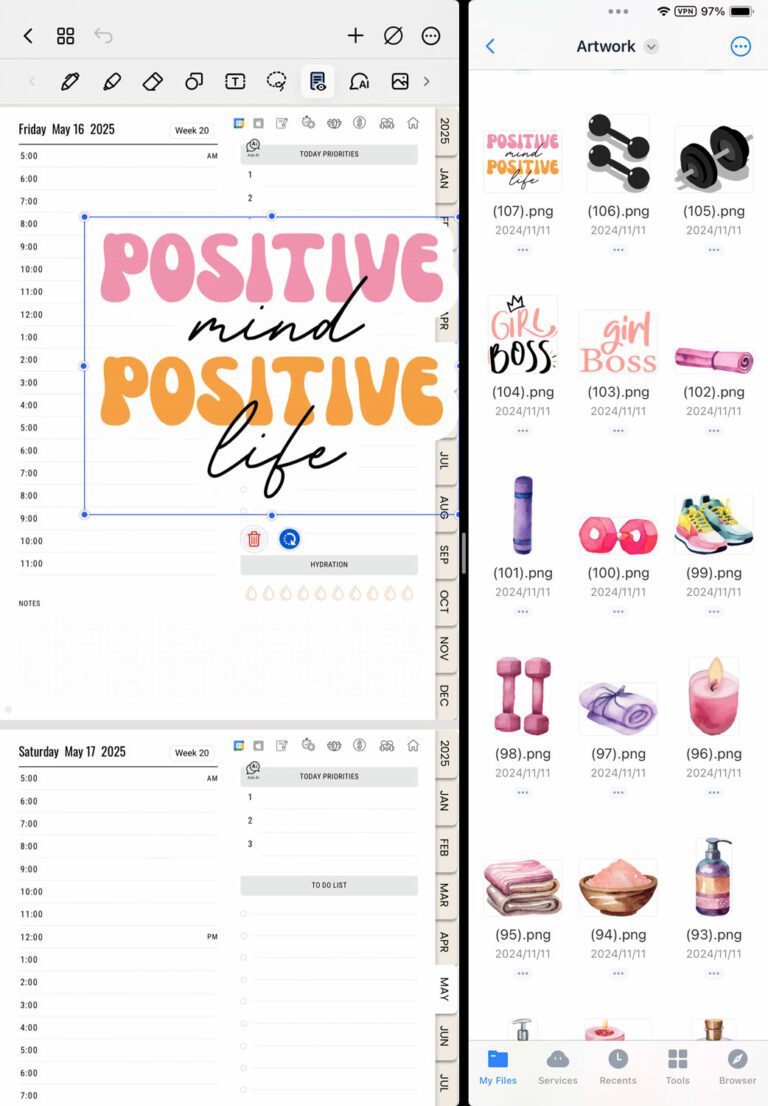
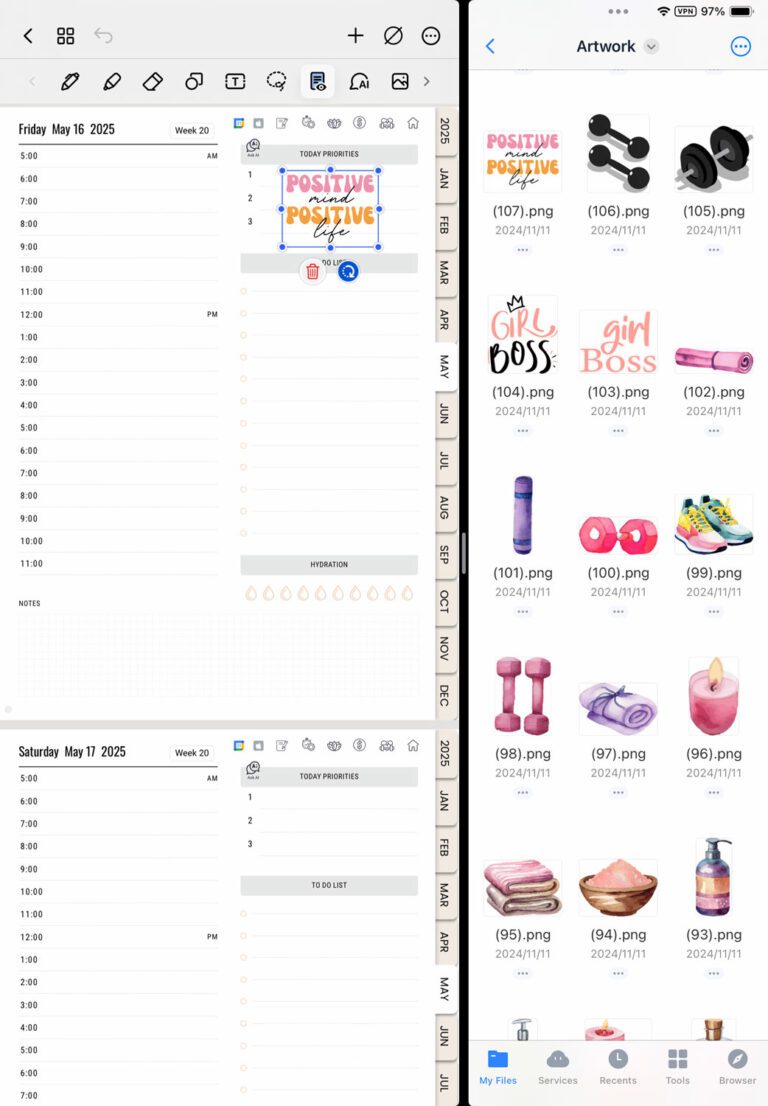
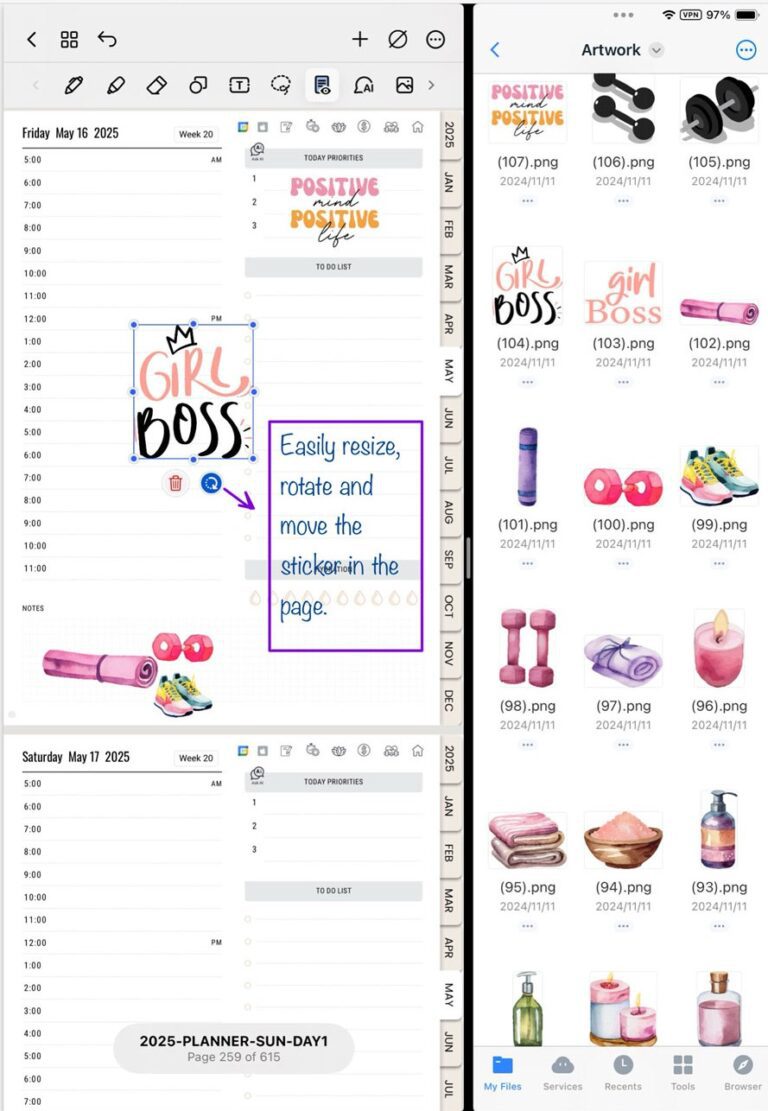
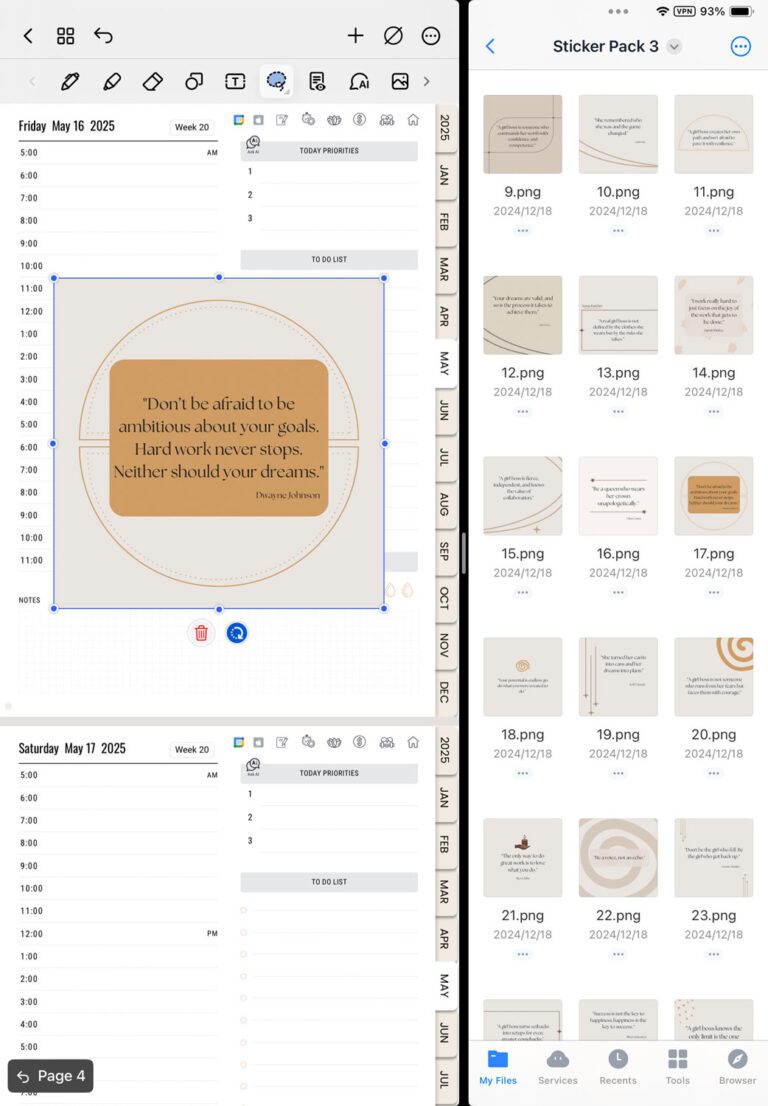
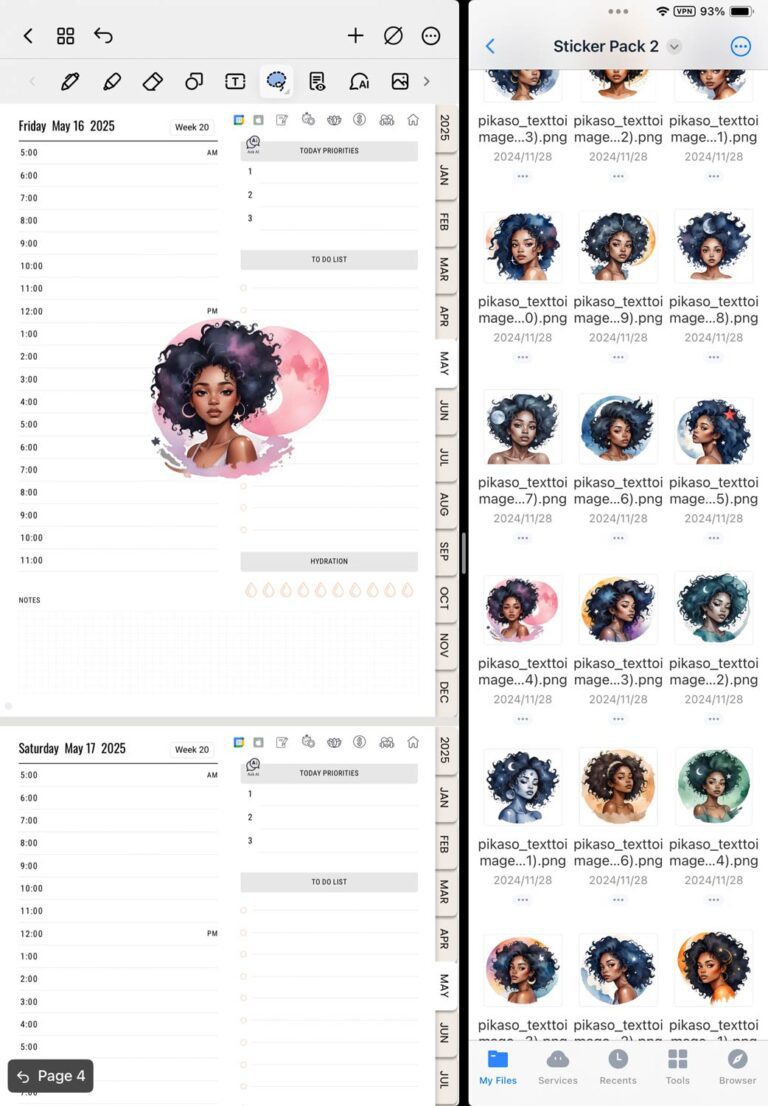
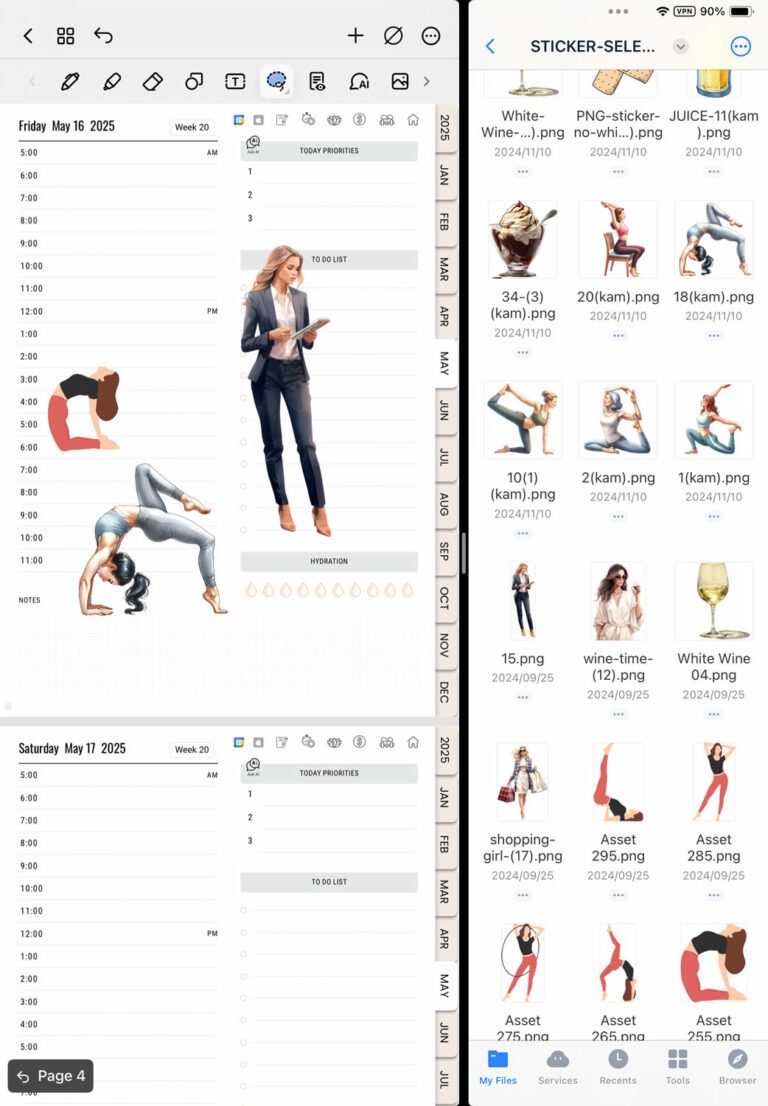
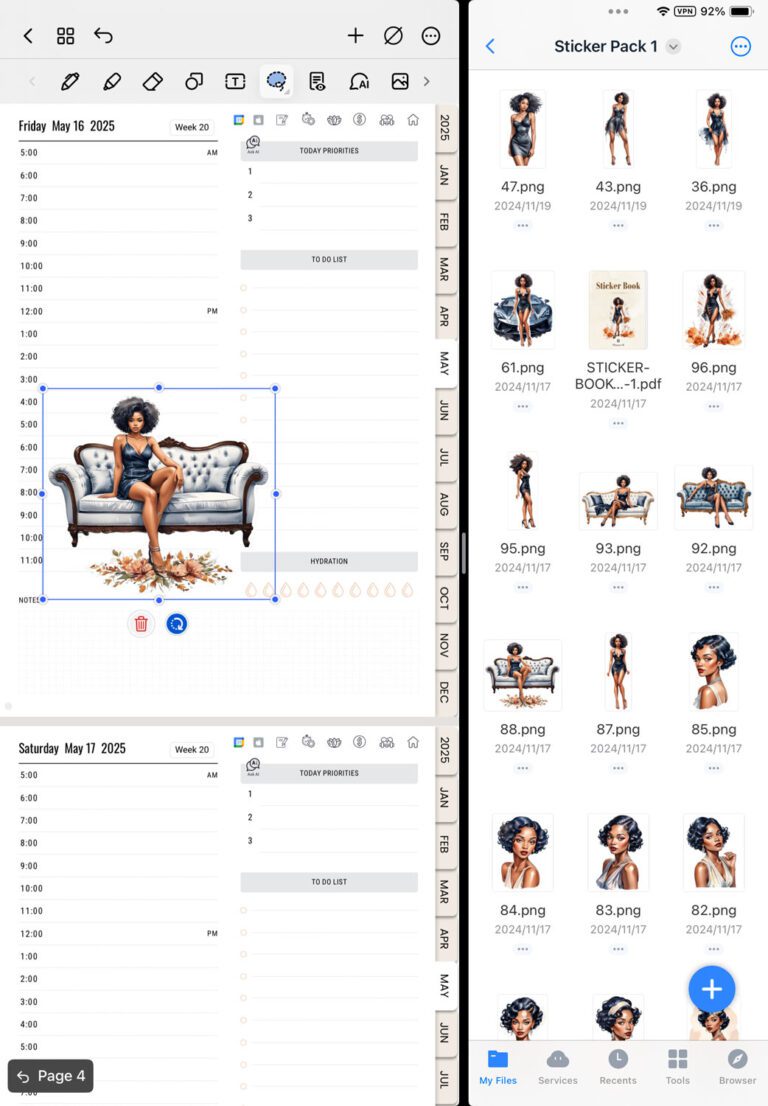
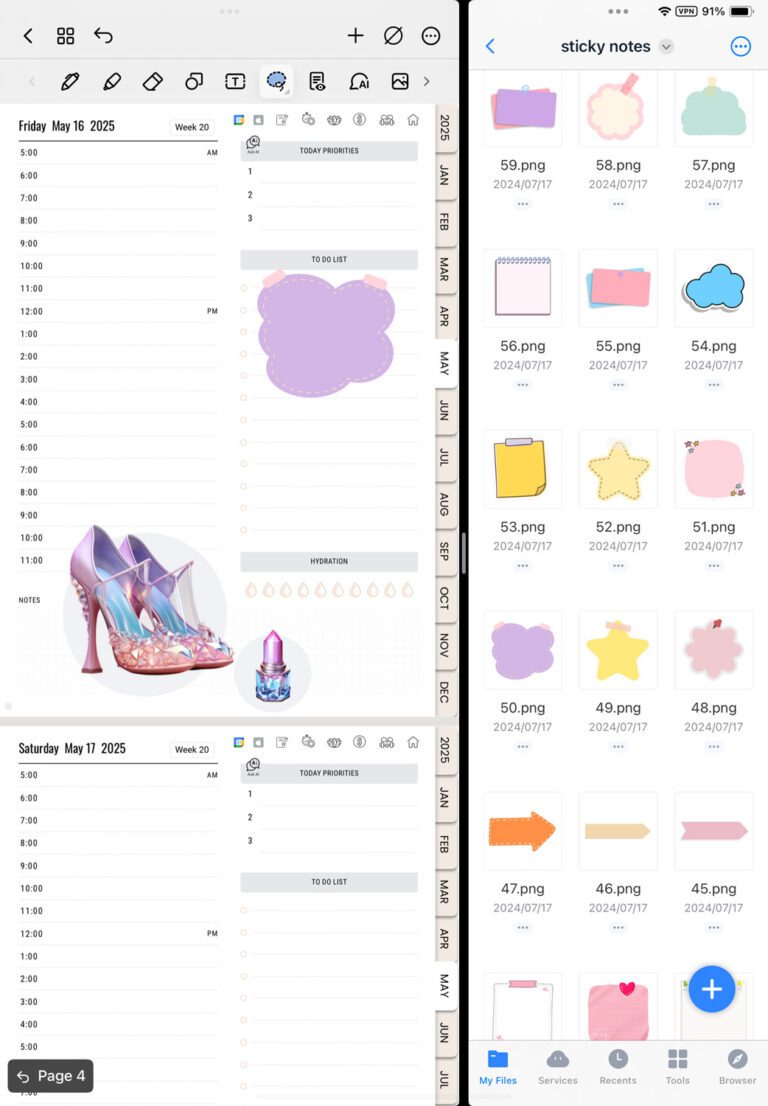
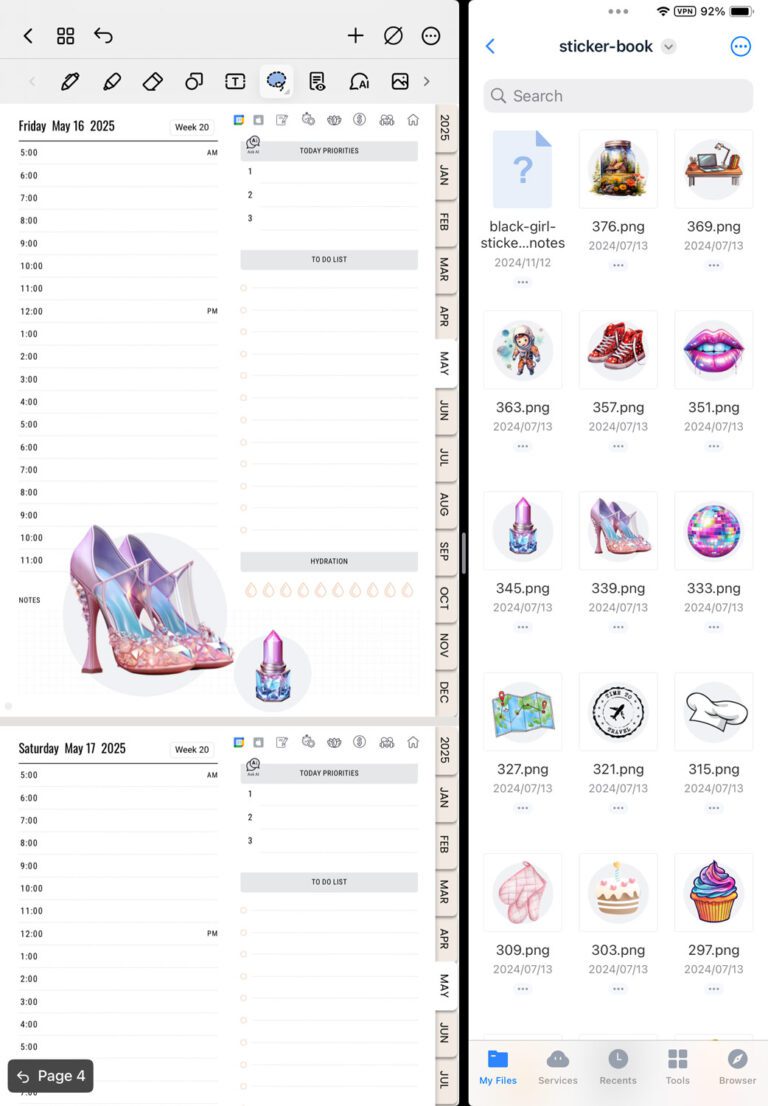
How to Add Stickers to Your Planner in Noteshelf

What’s Next
With these simple steps, importing your planner, swapping in a custom cover, and adding fun stickers, you’ve fully tailored your digital planner in Noteshelf to suit your style.
Whether you’re tracking goals, sketching ideas, or staying on top of appointments, Noteshelf’s flexible tools let you make each page your own. Now dive in, experiment with covers and stickers, and enjoy a planning experience that’s as unique as you are.
Happy planning!