In the ever-evolving digital lifestyle, traditional paper planning has transformed into beautifully interactive digital planners. These PDF-based planners mimic real-life journals and agendas, offering more customization, functionality, and portability, especially when used on an iPad.
One of the top apps for using planners is Notability. It’s beginner-friendly, powerful, and works flawlessly with Apple Pencil, making it an excellent choice for annotating planners, journals, and to-do lists.
In this tutorial, you’ll learn:
How to import your digital planner into Notability
How to write or type inside your planner
How to change your planner’s cover using PNG stickers
FAQs that solve real customer issues
All steps include screenshot references for easier navigation
Let’s get started!
Pre-Requisites Before You Begin
Make sure you have the following ready:
✅ A downloaded PDF planner file from your email or purchase ✅ The Notability app (free or paid) installed on your iPad ✅ An Apple Pencil (recommended) ✅ iPadOS up to date ✅ PNG sticker covers (optional but recommended)
💡 Tip: If you bought your planner from our store, you likely received your planner, matching covers, and sticker book in your bundle.
Step-by-Step Guide: Importing Your Digital Planner into Notability
Let’s walk through the exact steps to open your planner in Notability and start planning!
Step 1 – Locate Your Digital Planner PDF
Open the Files app on your iPad and navigate to where you saved your planner file.
Step 2 – Tap and Hold, Then Tap “Share”
Tap and hold on your planner file until the options menu appears. Select Share.
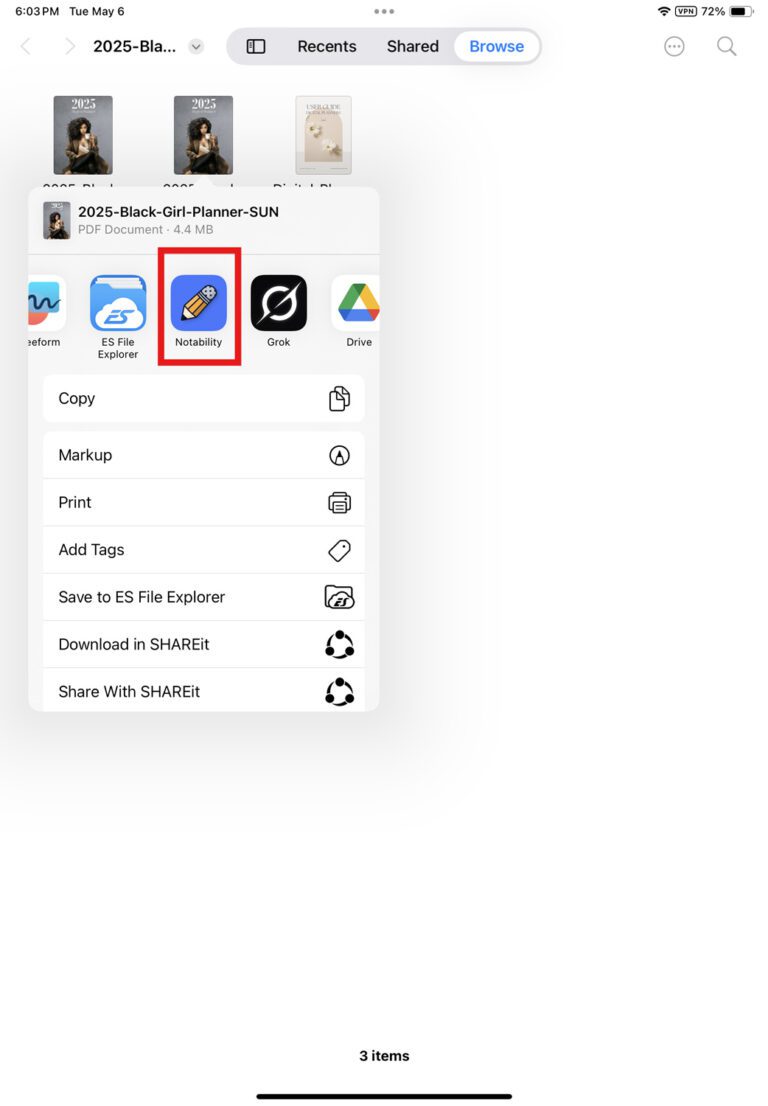
Step 3 – Select Notability
From the share menu, choose Notability. If it doesn’t show up, scroll to the right and tap “More”, then enable Notability from the list.
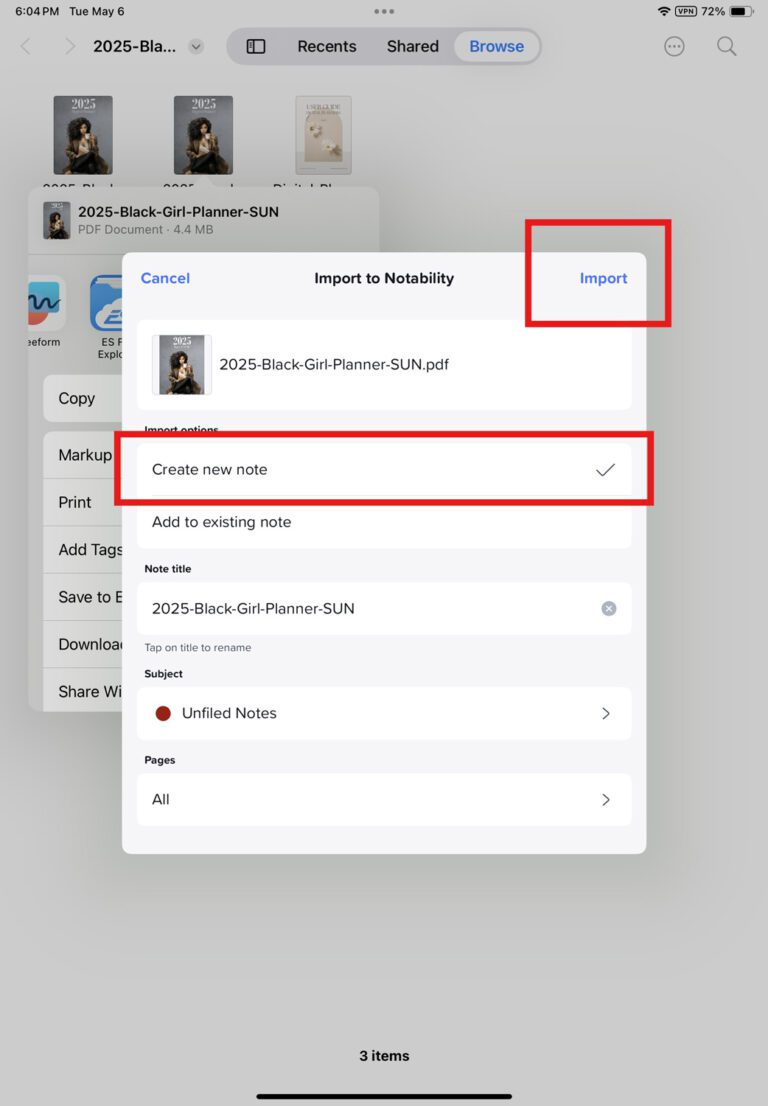
Step 4 – Choose New Note or Existing Note
You’ll see an option to create a new note or add the planner to an existing one. Most users will choose Create New Note.
Step 5 – Tap “Import”
Tap the Import button in the upper-right corner to bring your planner into Notability.
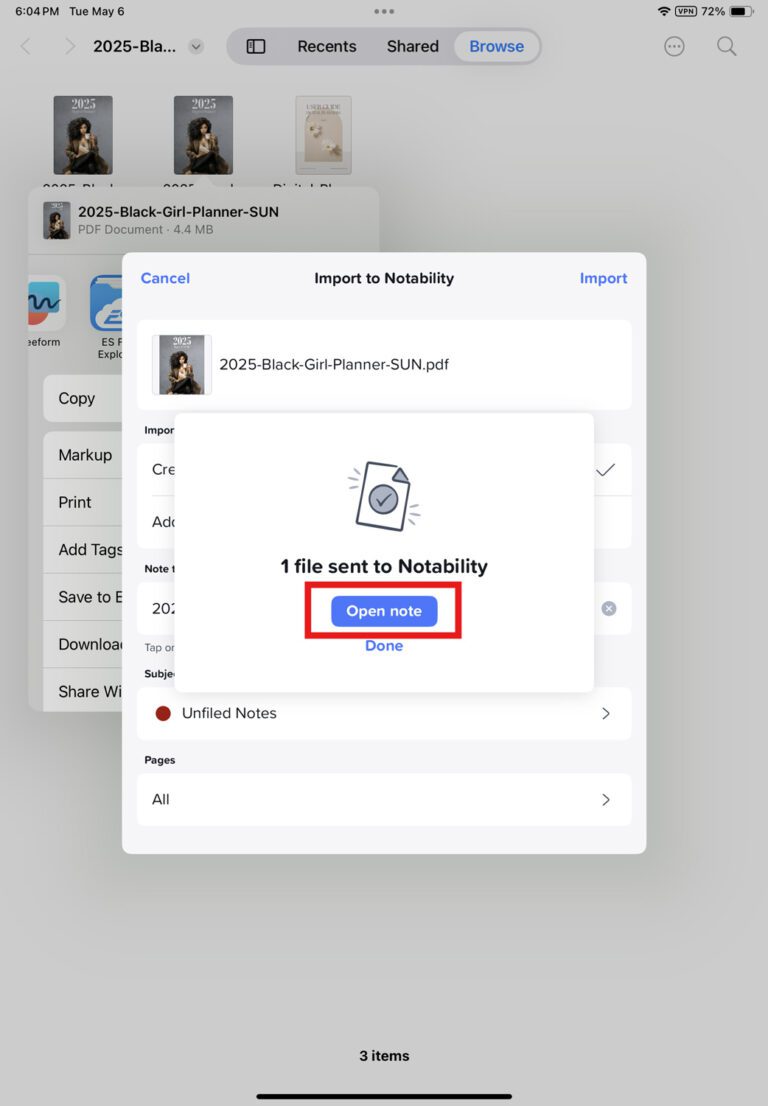
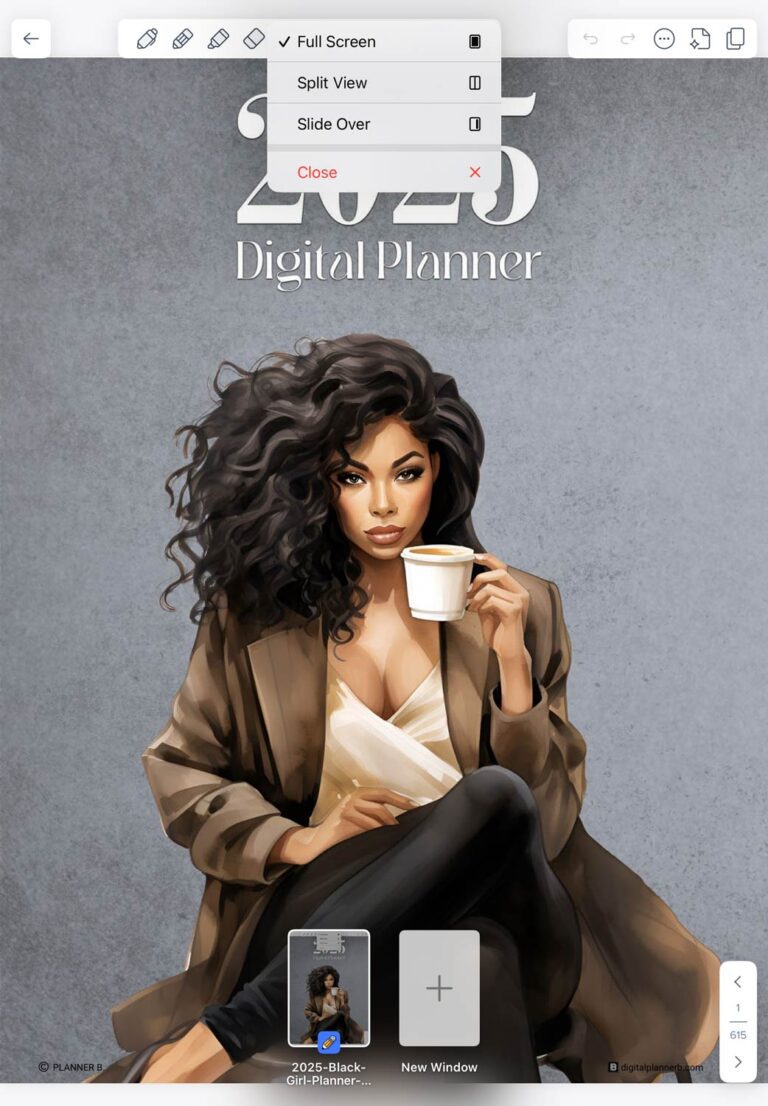
Step 6 – Tap “Open Note”
Your planner is now imported! Tap Open Note to start exploring your digital planner.
💡 Smart Tip: This tutorial uses the Black Girl Digital Planner — you can grab yours directly from our planner shop. Want to personalize your planner even more? Check out our full collection of digital sticker packs, made for Notability and GoodNotes users.
How to Annotate Your Digital Planner in Notability
Now that your planner is open, let’s explore the tools to help you write, type, and organize your day.
Apple Pencil: Start Writing Instantly
Simply start writing on the planner pages with your Apple Pencil — Notability will automatically detect it.
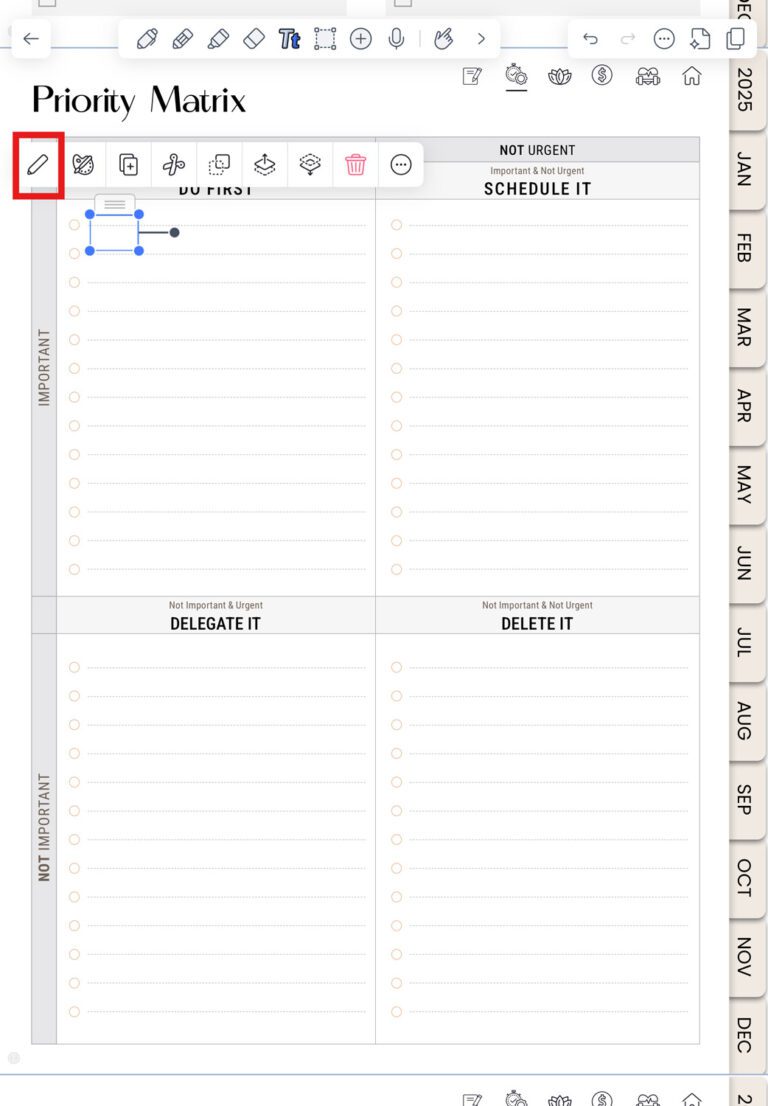
Typing Instead of Writing
If you prefer to type:
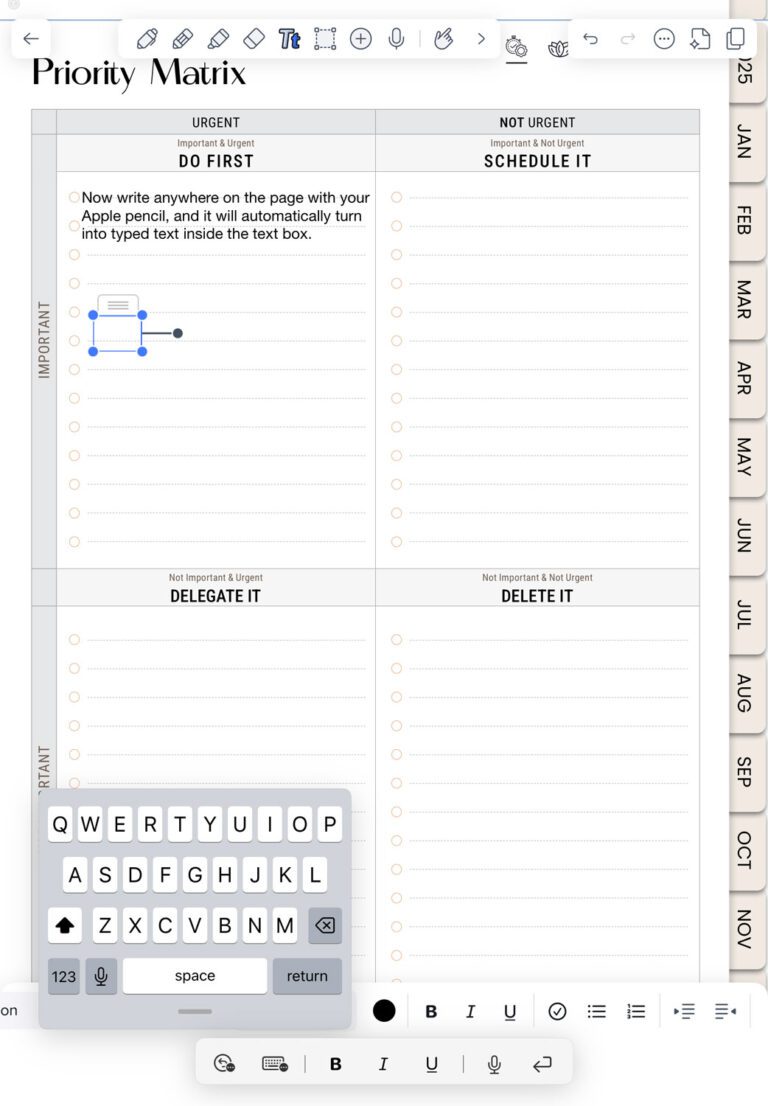
Tap the Text Tool (“Tt”)
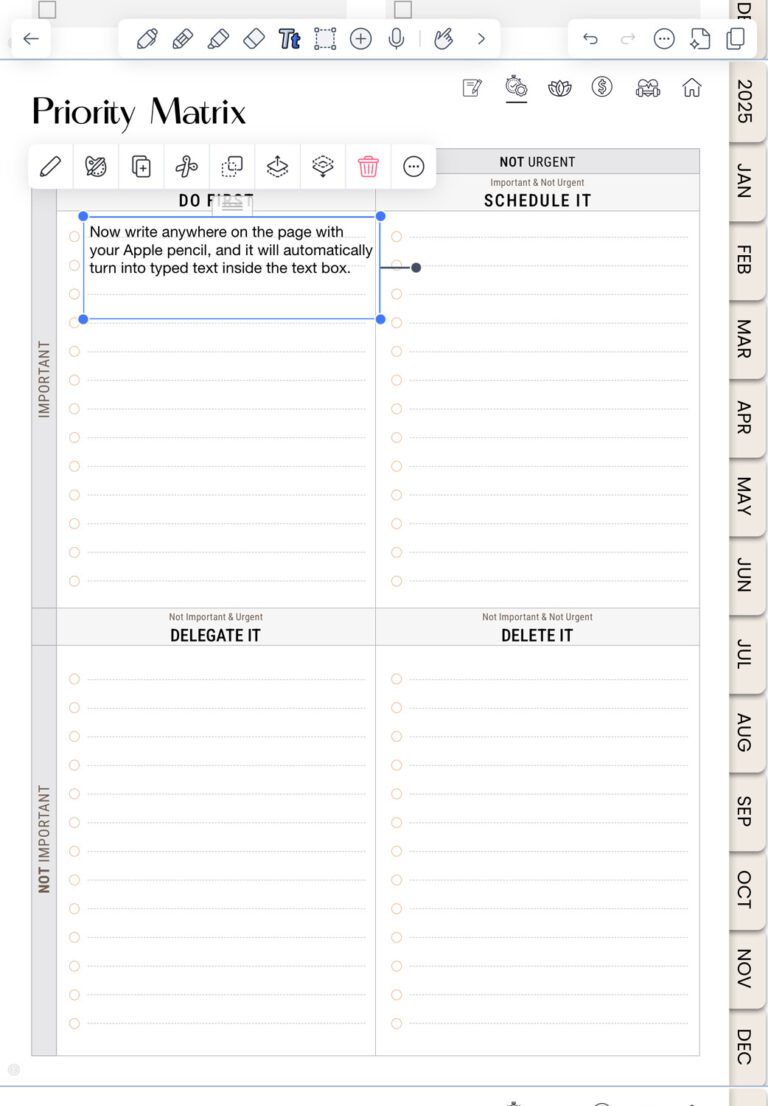
Draw a text box
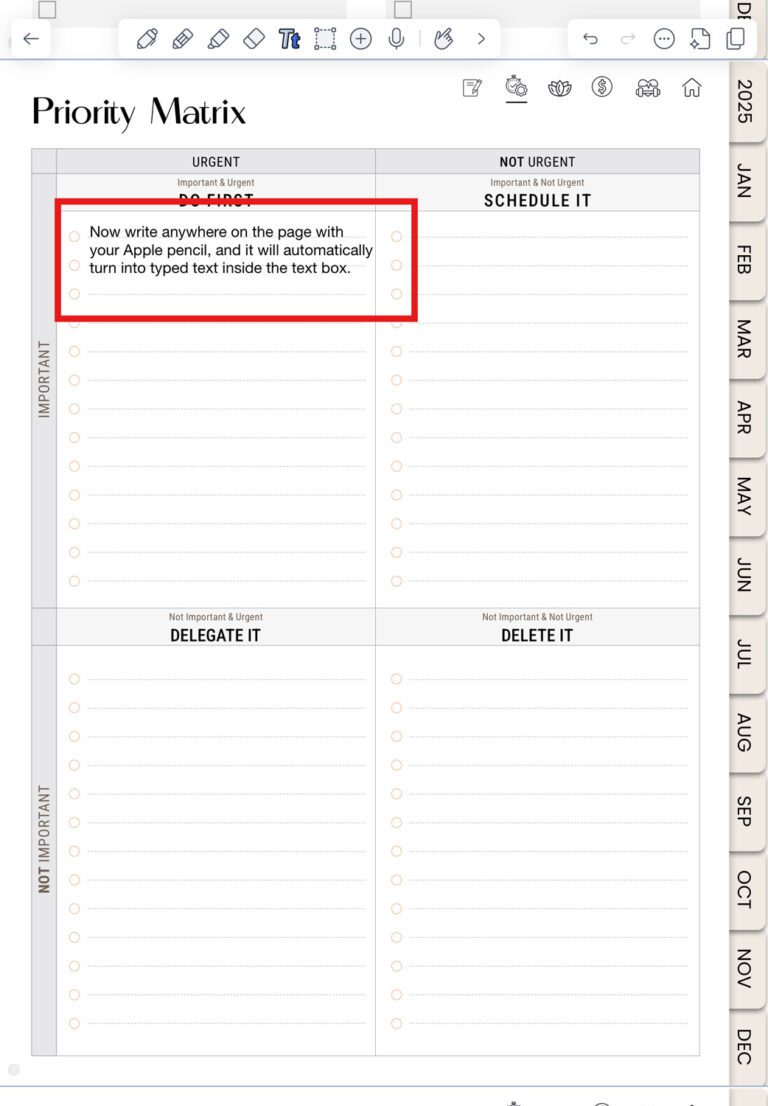
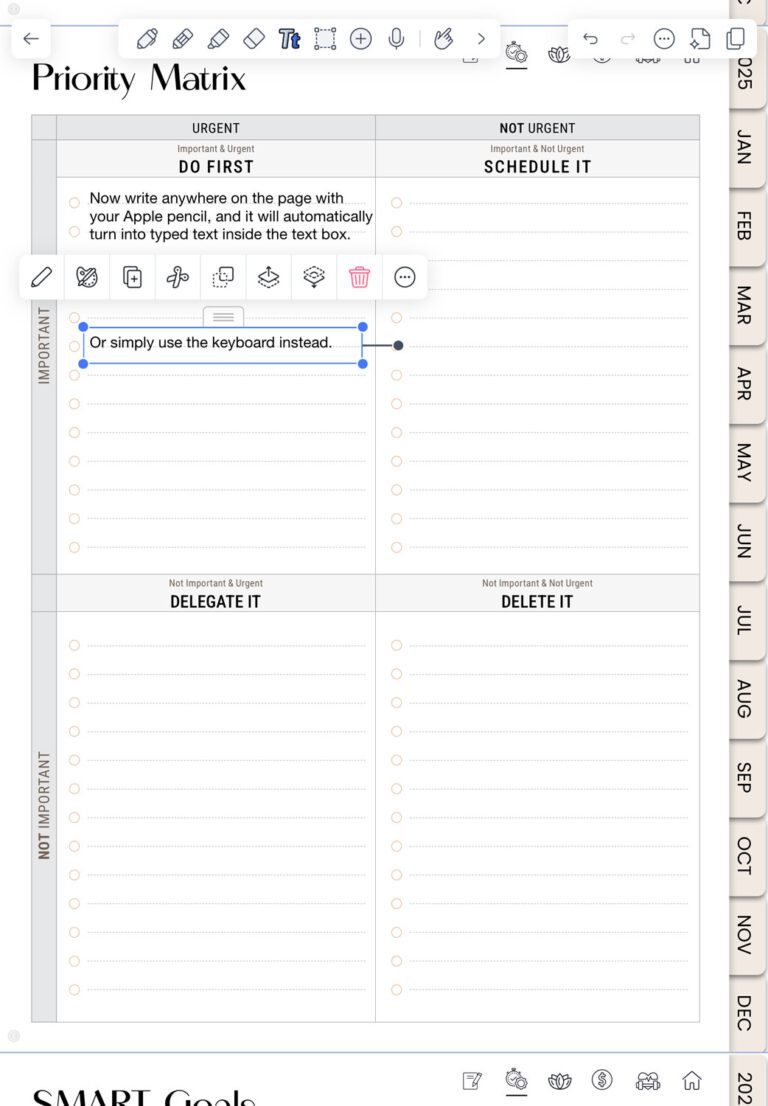
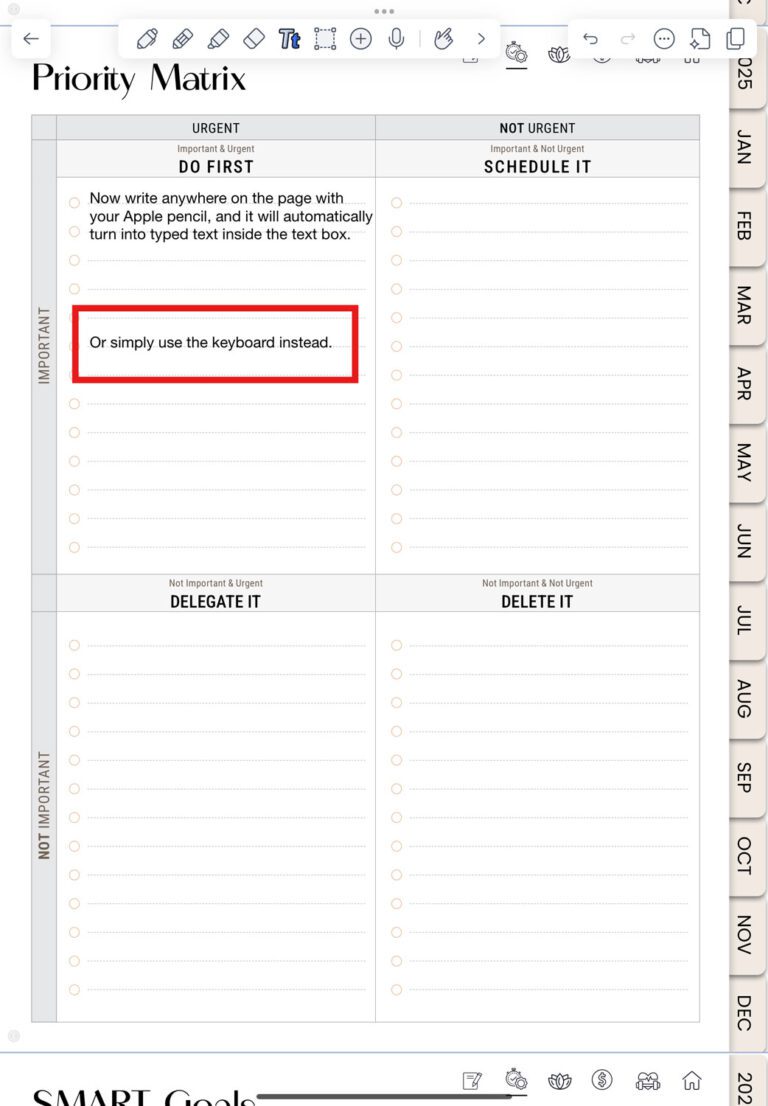
Use your Apple Pencil or finger to write — it will auto-convert to typed text
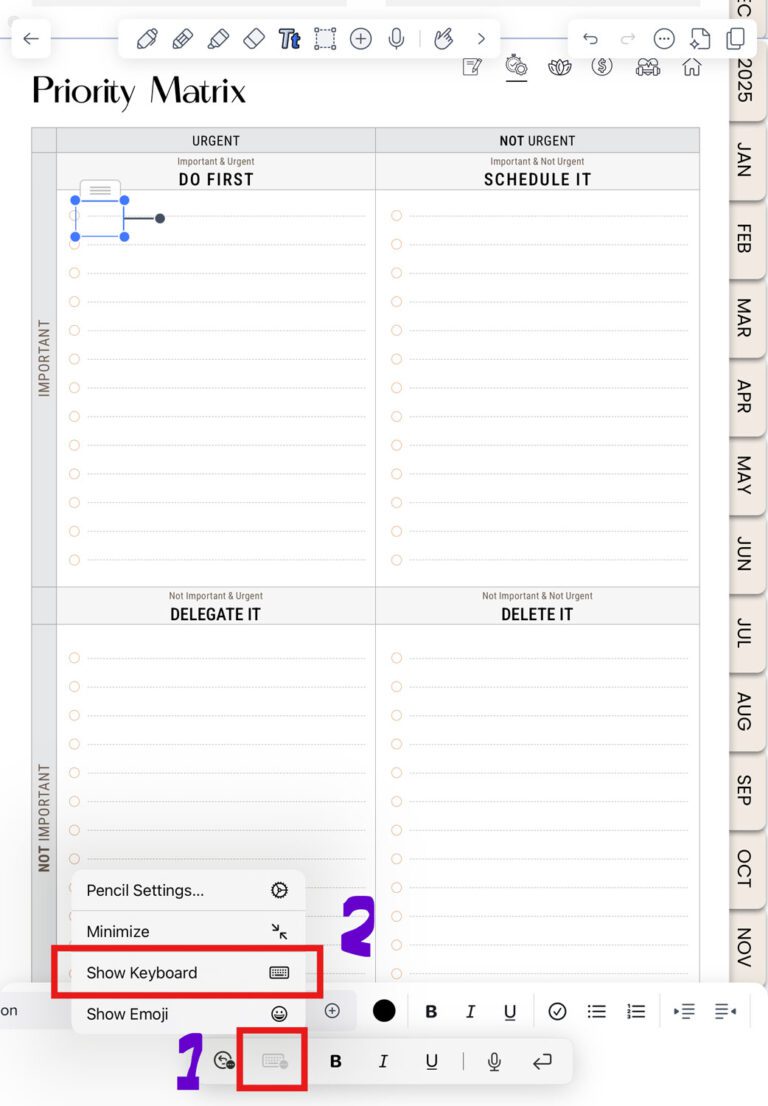
Or, tap the keyboard icon to show the keyboard
You can also manually show the keyboard:
How to Change Your Planner Cover in Notability
Want to switch up your planner’s vibe? Use your PNG cover stickers to replace the default front page.
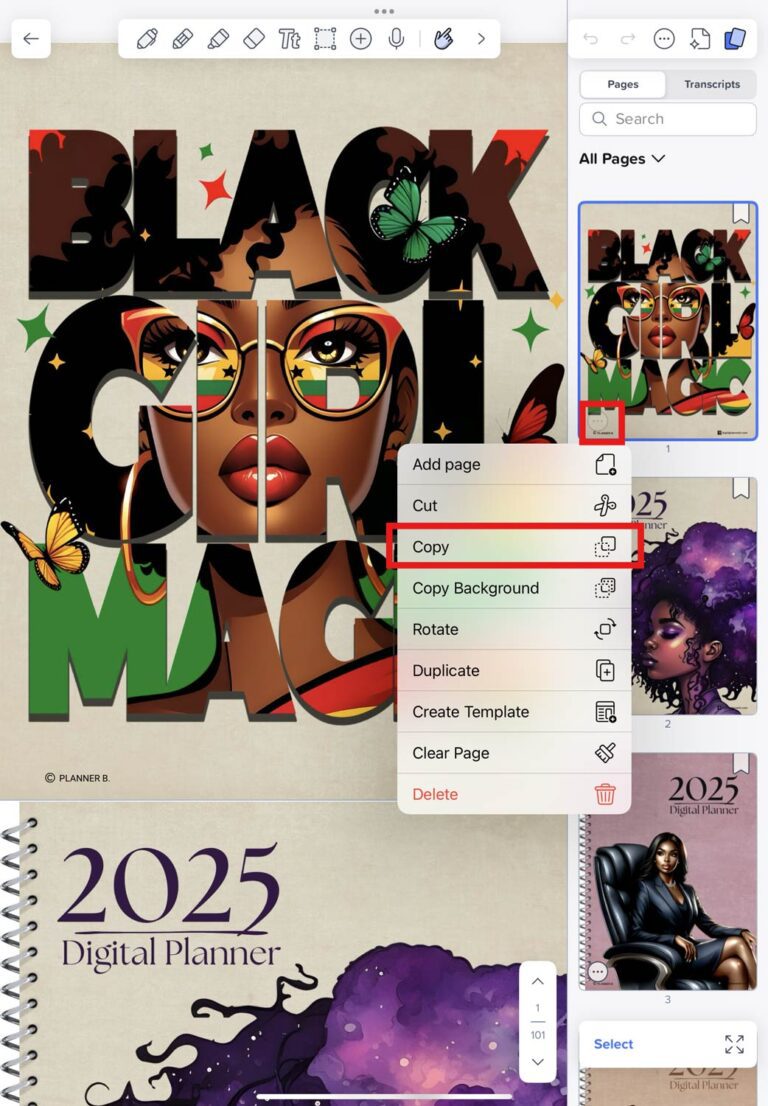
Step 1 – Open Sticker File
If your planner came with a GoodNotes sticker book, you can open it and copy your preferred cover PNG.
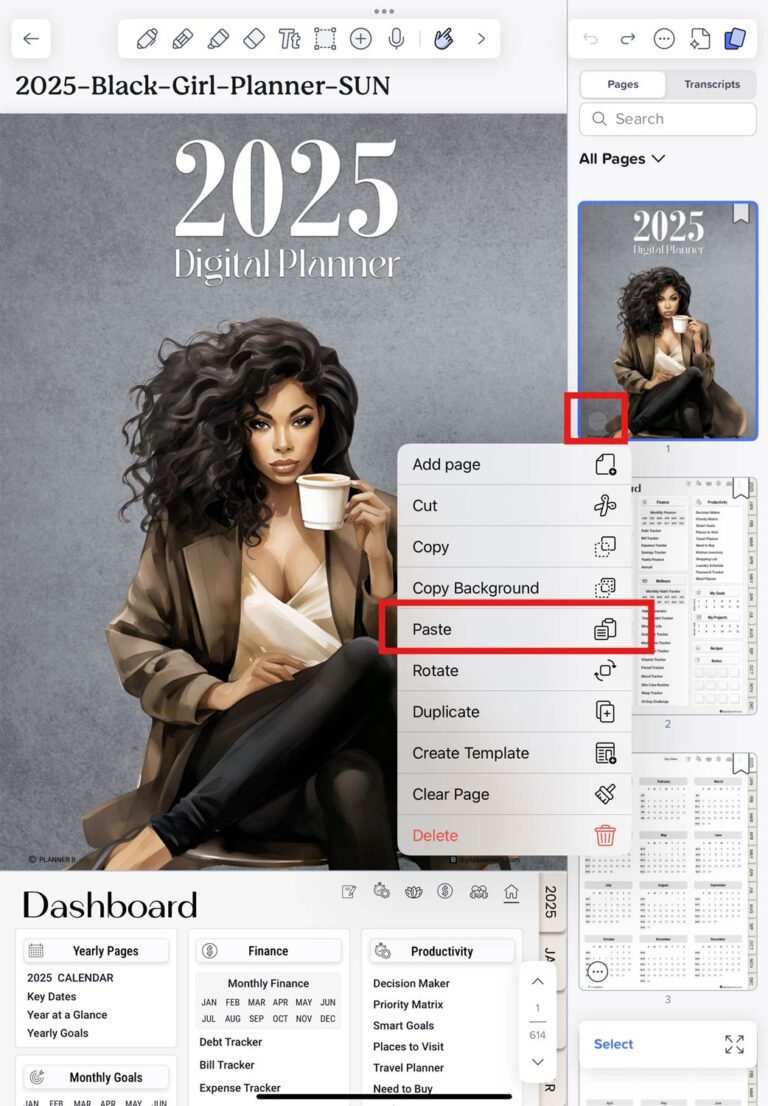
Step 2 – Paste Into Planner
Navigate to your planner’s first page, then paste the cover onto it.
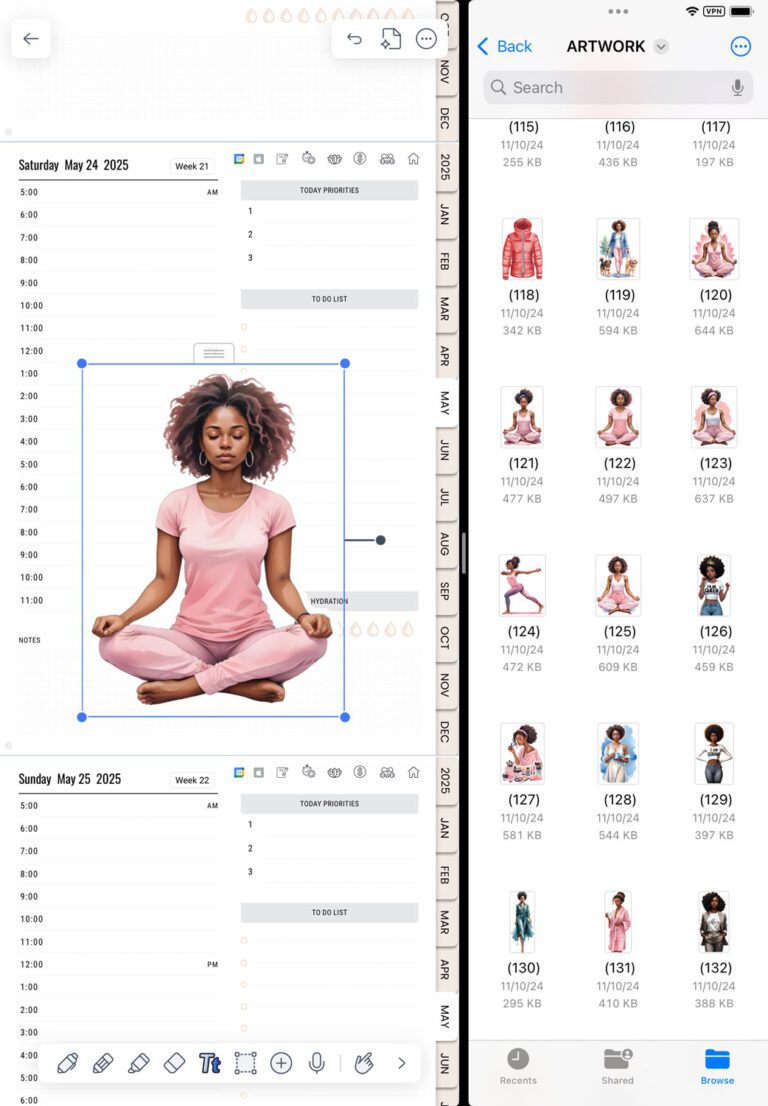
Step 3 – Resize & Position
Use two fingers to resize and move the sticker until it fits nicely.
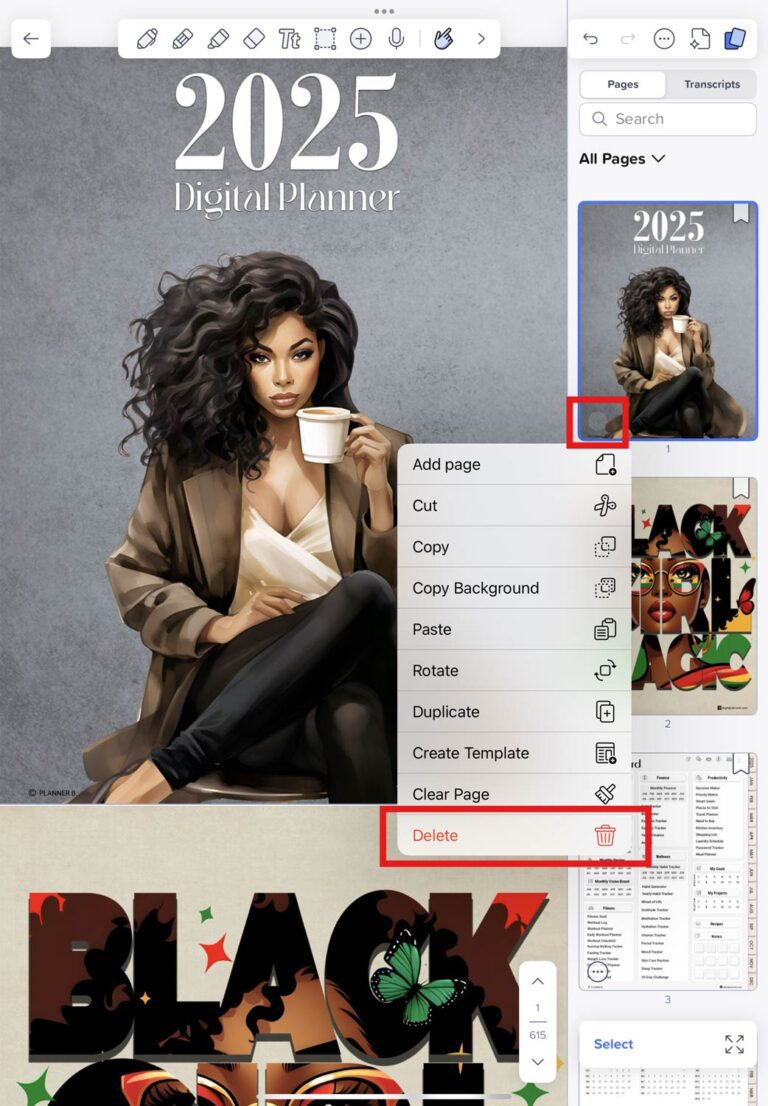
Step 4 – Delete the Original Cover (Optional)
Long press on the original page from the sidebar and tap Delete to clean it up.
✨ Bonus Option: Drag-and-Drop from Files (Split View)
If you want more flexibility or aren’t using the GoodNotes sticker book:
Open Files app side-by-side with Notability
Drag and drop PNGs into Notability directly
Resize and position as usual
It’s a super intuitive way to personalize your planner!
How to Add Stickers to Your Planner in Notability
Decorating your planner is one of the most fun parts of digital planning — and adding stickers in Notability is easier than you think!
All our planner sticker packs come in two formats:
GoodNotes format – ready-to-use in the GoodNotes app
Individual PNG stickers – perfect for Notability, ZoomNotes, Noteshelf, and more
Since Notability doesn’t support the .goodnotes format, you’ll be using the PNG sticker files.
Step-by-Step: How to Use PNG Stickers in Notability
Step 1 – Locate Your Sticker PNG Files
Find the PNG sticker folder included in your download from us. These stickers are:
Pre-cropped
High-resolution
The exact same style and quality as in the GoodNotes sticker book
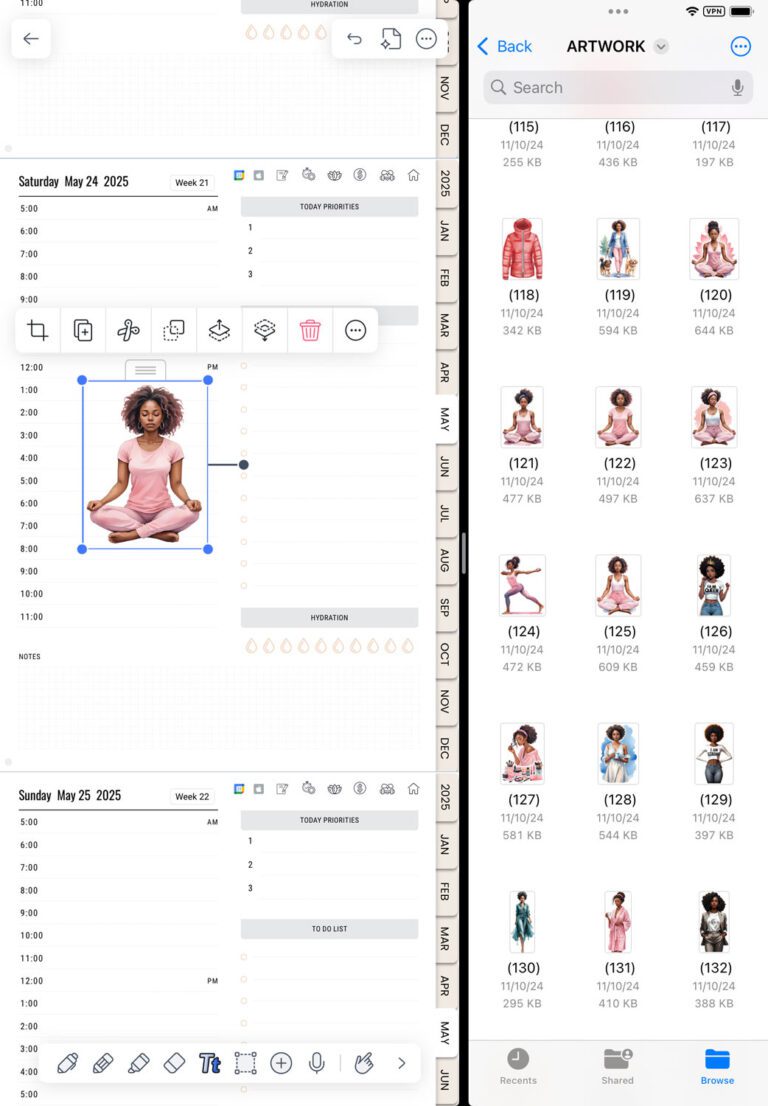
Step 2 – Open Split View on iPad
Use split view to open Files app side-by-side with Notability:
Swipe up from the bottom of your iPad screen to show the dock
Drag the Files app next to Notability until it snaps to split view
Step 3 – Drag and Drop Your Sticker
Simply:
Tap and hold a PNG sticker from the Files app
Drag it over to your planner in Notability
Drop it where you want to place it
You can resize, rotate, and layer stickers however you like!
💡 Pro Tip: You can use this method to place stickers anywhere — from monthly spreads to weekly overviews, dashboards, or trackers. It’s perfect for personalizing your planner on the go.
Why We Provide Both Formats
We know every user has a different favorite app. That’s why we give you:
GoodNotes files – fast, organized, and intuitive in GoodNotes
Individual PNGs – flexible for Notability and all other annotation apps
Both formats include the same exact stickers, in identical quality, so you can plan however you like — without missing out on features.
Best Practices for Notability Planning
Use folders in Notability to separate projects
Backup regularly to iCloud or Google Drive
Use your monthly tabs for fast navigation
Duplicate planner pages when you need extra notes
Real-User FAQs (Helpful, Clear, & Detailed)
Q1: Why doesn’t my planner show up in Notability?
Make sure the PDF is downloaded completely and that Notability has access to Files. If it still doesn’t appear, restart your iPad and try again.
Q2: Why are my tabs not working?
Tabs are interactive links and only work in view mode. If you’re using the writing tool, the links will not function. Switch to the hand tool.
Q3: Can I use the planner in both GoodNotes and Notability?
Yes! You can import the same PDF file into both apps. Each supports hyperlinks and annotation tools.
Q4: How can I write in Notability using the keyboard?
Tap the Tt tool, draw a text box, and then tap the keyboard icon to type.
Q5: Can I copy my cover from one planner to another?
Yes — just use copy & paste or drag-and-drop using split view.
Q6: What’s the best way to organize my stickers and planner files?
We recommend creating a folder named “Planner Kit” inside Files. You can organize covers, inserts, and sticker PNGs all in one place for easy drag-and-drop.
Final Thoughts: Start Planning with Confidence!
Now you’ve learned exactly how to import your digital planner in Notability, annotate it using Apple Pencil or keyboard, and customize it with stunning covers and stickers.
You’re ready to organize your life with confidence and creativity.