Blog
How to Install and Use Apple Shortcuts in Your Digital Planner (iPad & iPhone Guide)
Table of Contents
Introduction
If you’ve been wondering how to install Apple Shortcuts in your digital planner on iPad or iPhone, this is the step-by-step guide you need. Our planners include built-in links on daily pages that allow you to quickly add events to Apple Calendar or set reminders — but they only work when a simple Shortcut is installed. Here’s how to install it and start using these features like a pro.
Why You Need Shortcuts for Your Digital Planner
With Apple Shortcuts, your planner becomes more interactive. You’ll be able to:
Add events to Apple Calendar from daily pages
Set reminders instantly without switching apps
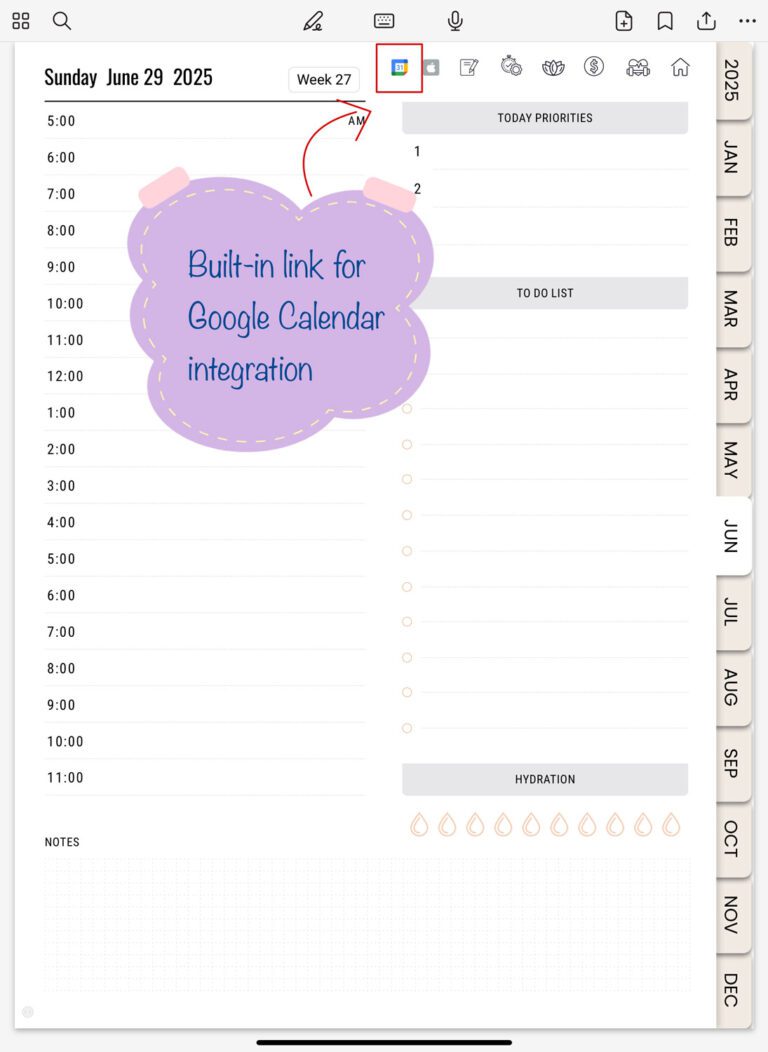
Open your Apple Calendar for a specific date
Stay organized without breaking your flow
Quick Setup: How to Install the Shortcut
Click the Shortcut link provided with your planner download.
The Shortcut app will open — just tap “Add Shortcut”.
That’s it. The Shortcut is now installed and ready.
You don’t need to configure anything else unless you’re using a different app than GoodNotes.
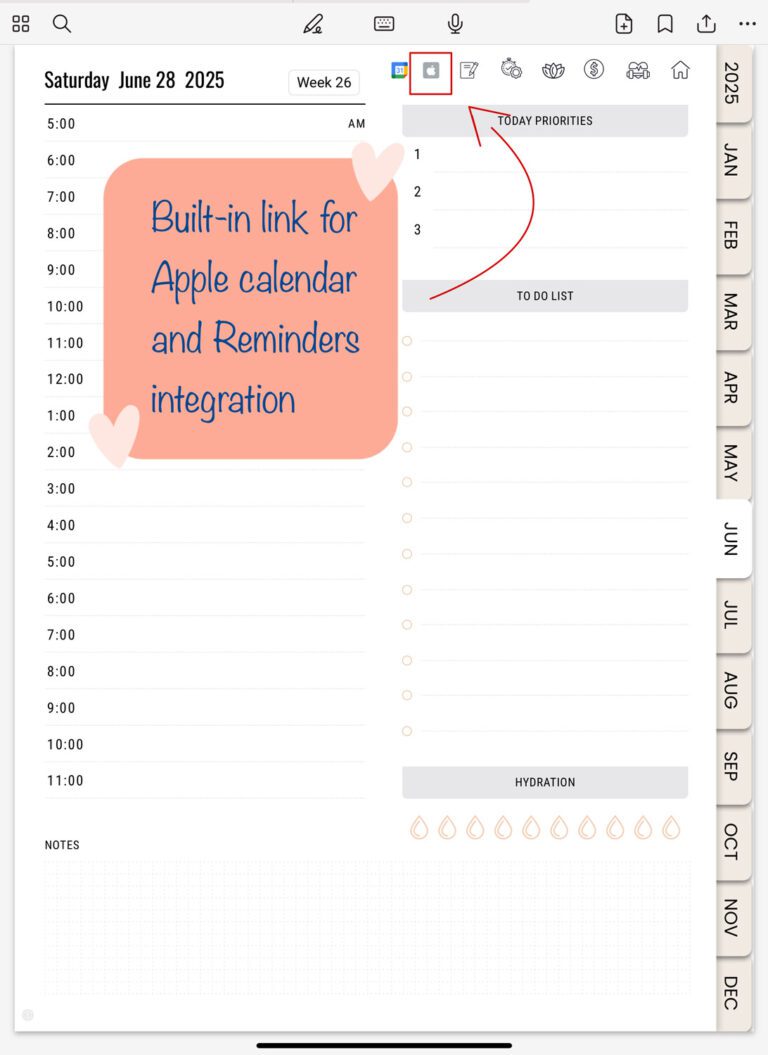
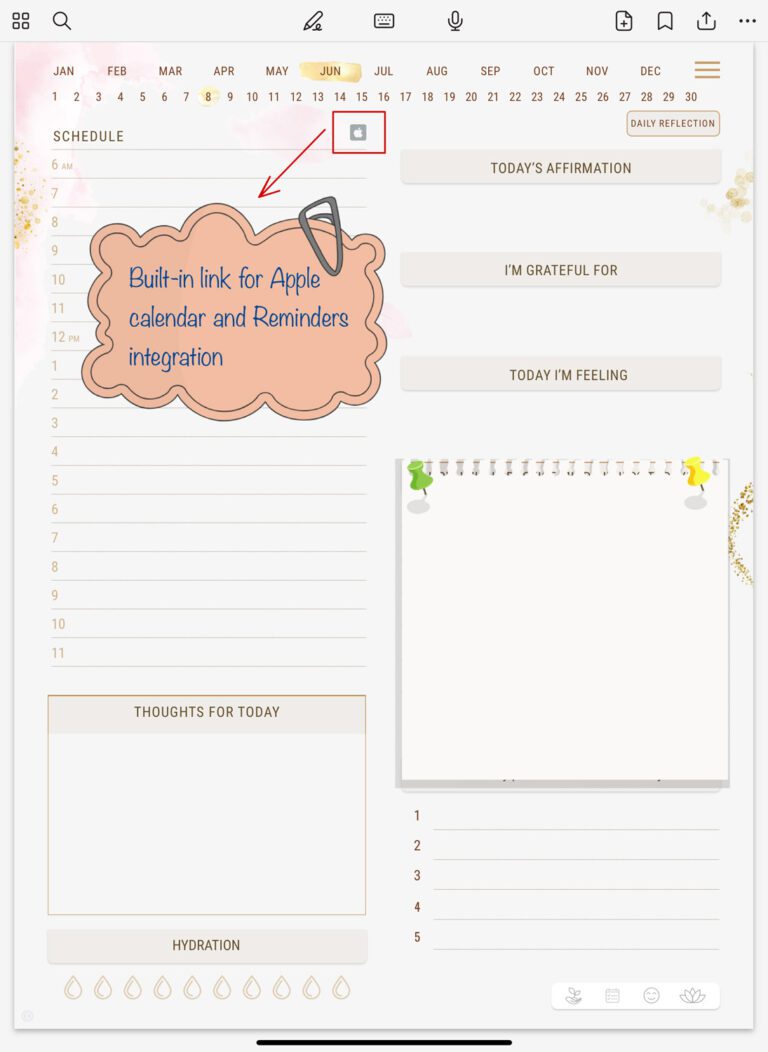
After installing the Shortcut, return to your planner and tap any link (like “+ Calendar” or “+ Reminder”) to get started.
How the Links Work Inside the Planner
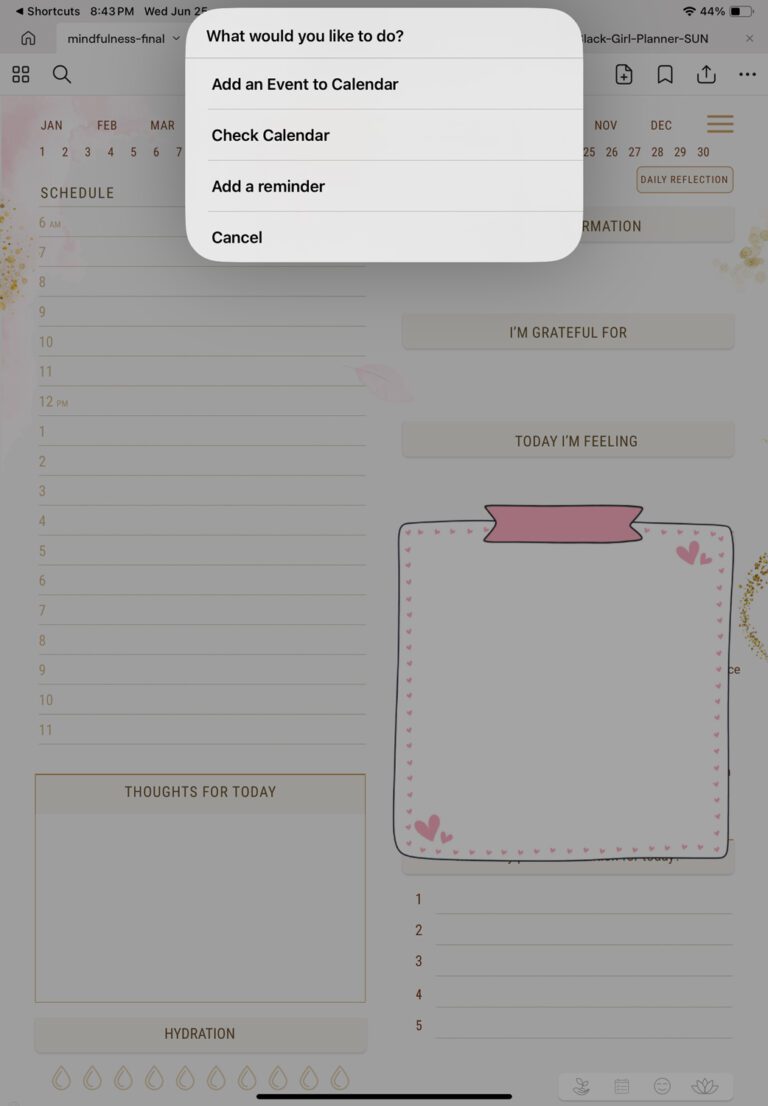
When you tap the daily page links inside your planner, a pop-up will appear:
What would you like to do?
Add an Event to Calendar
Check Calendar for this day
Add a Reminder
Cancel
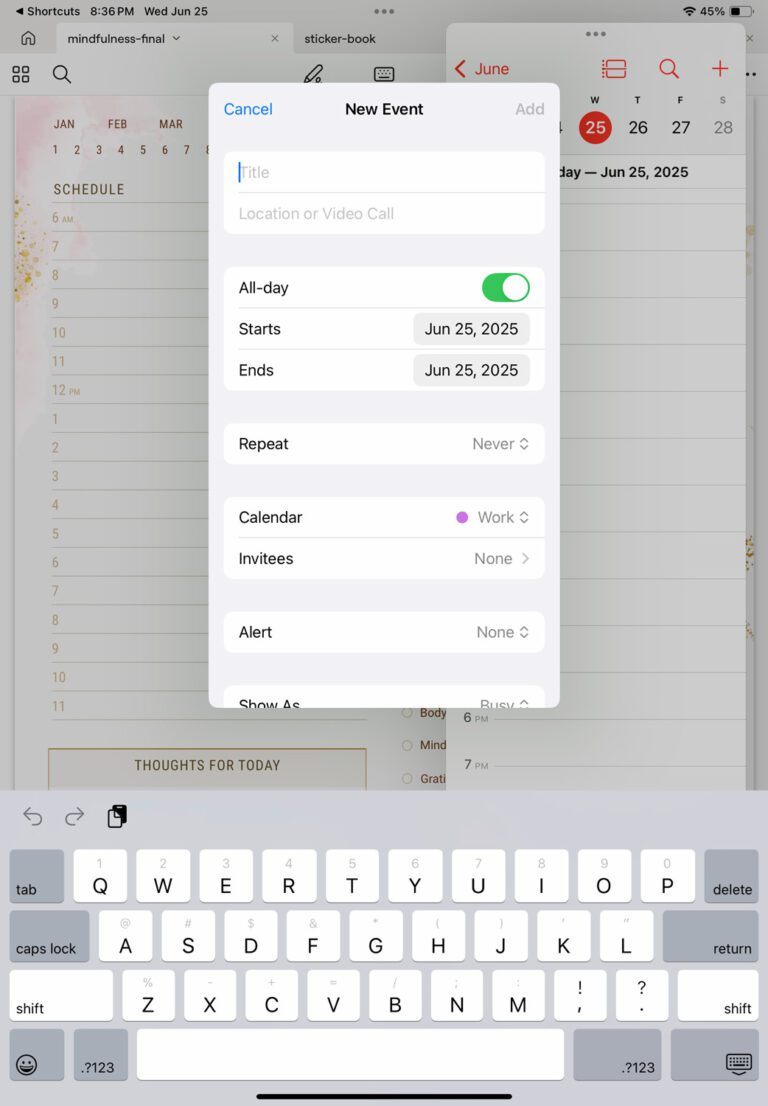
Based on your selection, your iPad or iPhone will open the correct app:
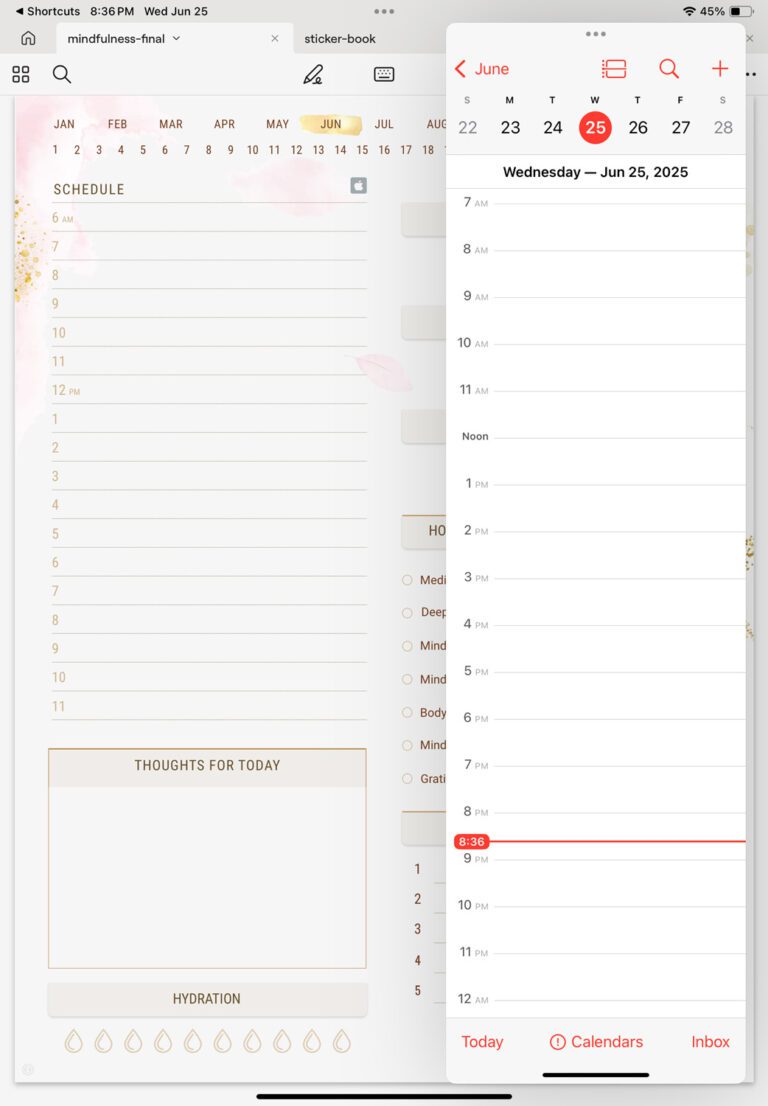
Apple Calendar to create or view events
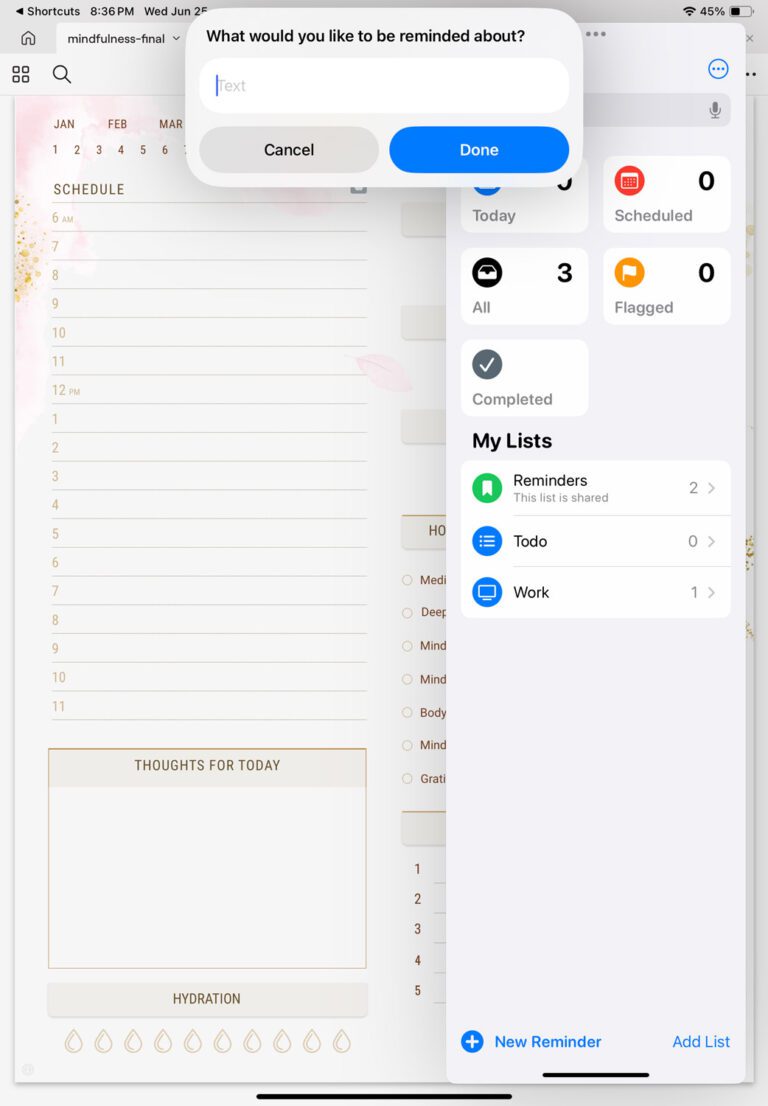
Apple Reminders to set a task
You stay inside your planner the whole time
No manual switching. No complicated setup.
What If You Don’t Use GoodNotes?
If you're using another annotation app (like Noteshelf or ZoomNotes), you'll need to tweak the Shortcut:
Open the Shortcuts app
Tap the installed Planner Shortcut
Replace “GoodNotes” with your app in the “Open App” action
Save and close — done!
If you're unsure how to do this, message us — we're happy to help.
Troubleshooting & Shortcut Settings (for iPad & iPhone)
If your Shortcut isn’t working as expected, here’s how to quickly fix common issues:
1. Shortcut doesn’t run when tapped
Go to Settings > Shortcuts
Make sure Allow Untrusted Shortcuts is enabled
If it’s greyed out, run any Apple-built Shortcut first — this unlocks the setting
2. Nothing happens when you tap a link in the planner
Ensure the Shortcut is installed correctly
If needed, reinstall it and open it once from the Shortcuts app to activate it
3. Pop-up with action options doesn’t appear
Check that Shortcut permissions were granted the first time
Open the Shortcut manually and allow access if prompted
4. Getting a permission or access error?
If you denied permissions accidentally, delete the Shortcut and reinstall it
Tap “Allow” when asked for access on the first run
5. Using a planner app other than GoodNotes?
Open the Shortcut in the Shortcuts app
Tap “Edit,” and change the “Open App” action to match your app (e.g., Noteshelf)
Save it — done! You’re now fully integrated
F & Q
- Yes! If you are using a different annotation app (such as Notability, Noteshelf, or others) instead of GoodNotes, you can easily edit the Shortcut to open your preferred app. If you're unsure how to do this, simply contact us — we’re happy to guide you.
Normally, the Shortcut stays installed after an iOS update. However, after major iOS updates (like iOS 17 to iOS 18), Apple may require you to “re-allow” permissions for untrusted Shortcuts. If you notice the Shortcut isn’t working after an update, simply open the Shortcuts app and run it once — this will reset the necessary permissions.
On some iPads, settings may block untrusted Shortcuts by default. To enable this:
Go to Settings > Shortcuts > Allow Untrusted Shortcuts — turn this ON.
If the option is greyed out, run any built-in Shortcut first, and then the option will appear.
No worries — just message us and we will resend the link to you quickly.
Final Thoughts
Learning how to install Apple Shortcuts in your digital planner on iPad is incredibly easy — and it unlocks smarter, smoother planning. With just one tap, you’ll be able to add events, set reminders, and stay on schedule right inside your planner.
If you’re stuck or have questions, our support team is always here to help.
Happy planning!